Building a wooden tatami platform 🔨
Sharing notes about this very nice wood building experience
Introduction
In our new beautiful apartment, we decided to split the living room in two with a dividing wall in order to create a second bedroom. We wanted to use it as an office or workshop most of the year, but also as a guest room for visitors around the year.
How to make the most out of the space when the guest room version would be activated maybe 20 days a year i.e. 5% of the time?
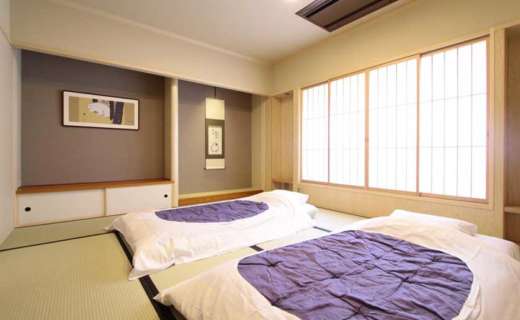
Our answer was: a wooden platform with tatamis and futon on top! That way, guest wouldn't sleep on the floor, and we could fold/unfold the mattress and convert the space into different uses: bed, reading area, clothes drying area, ...
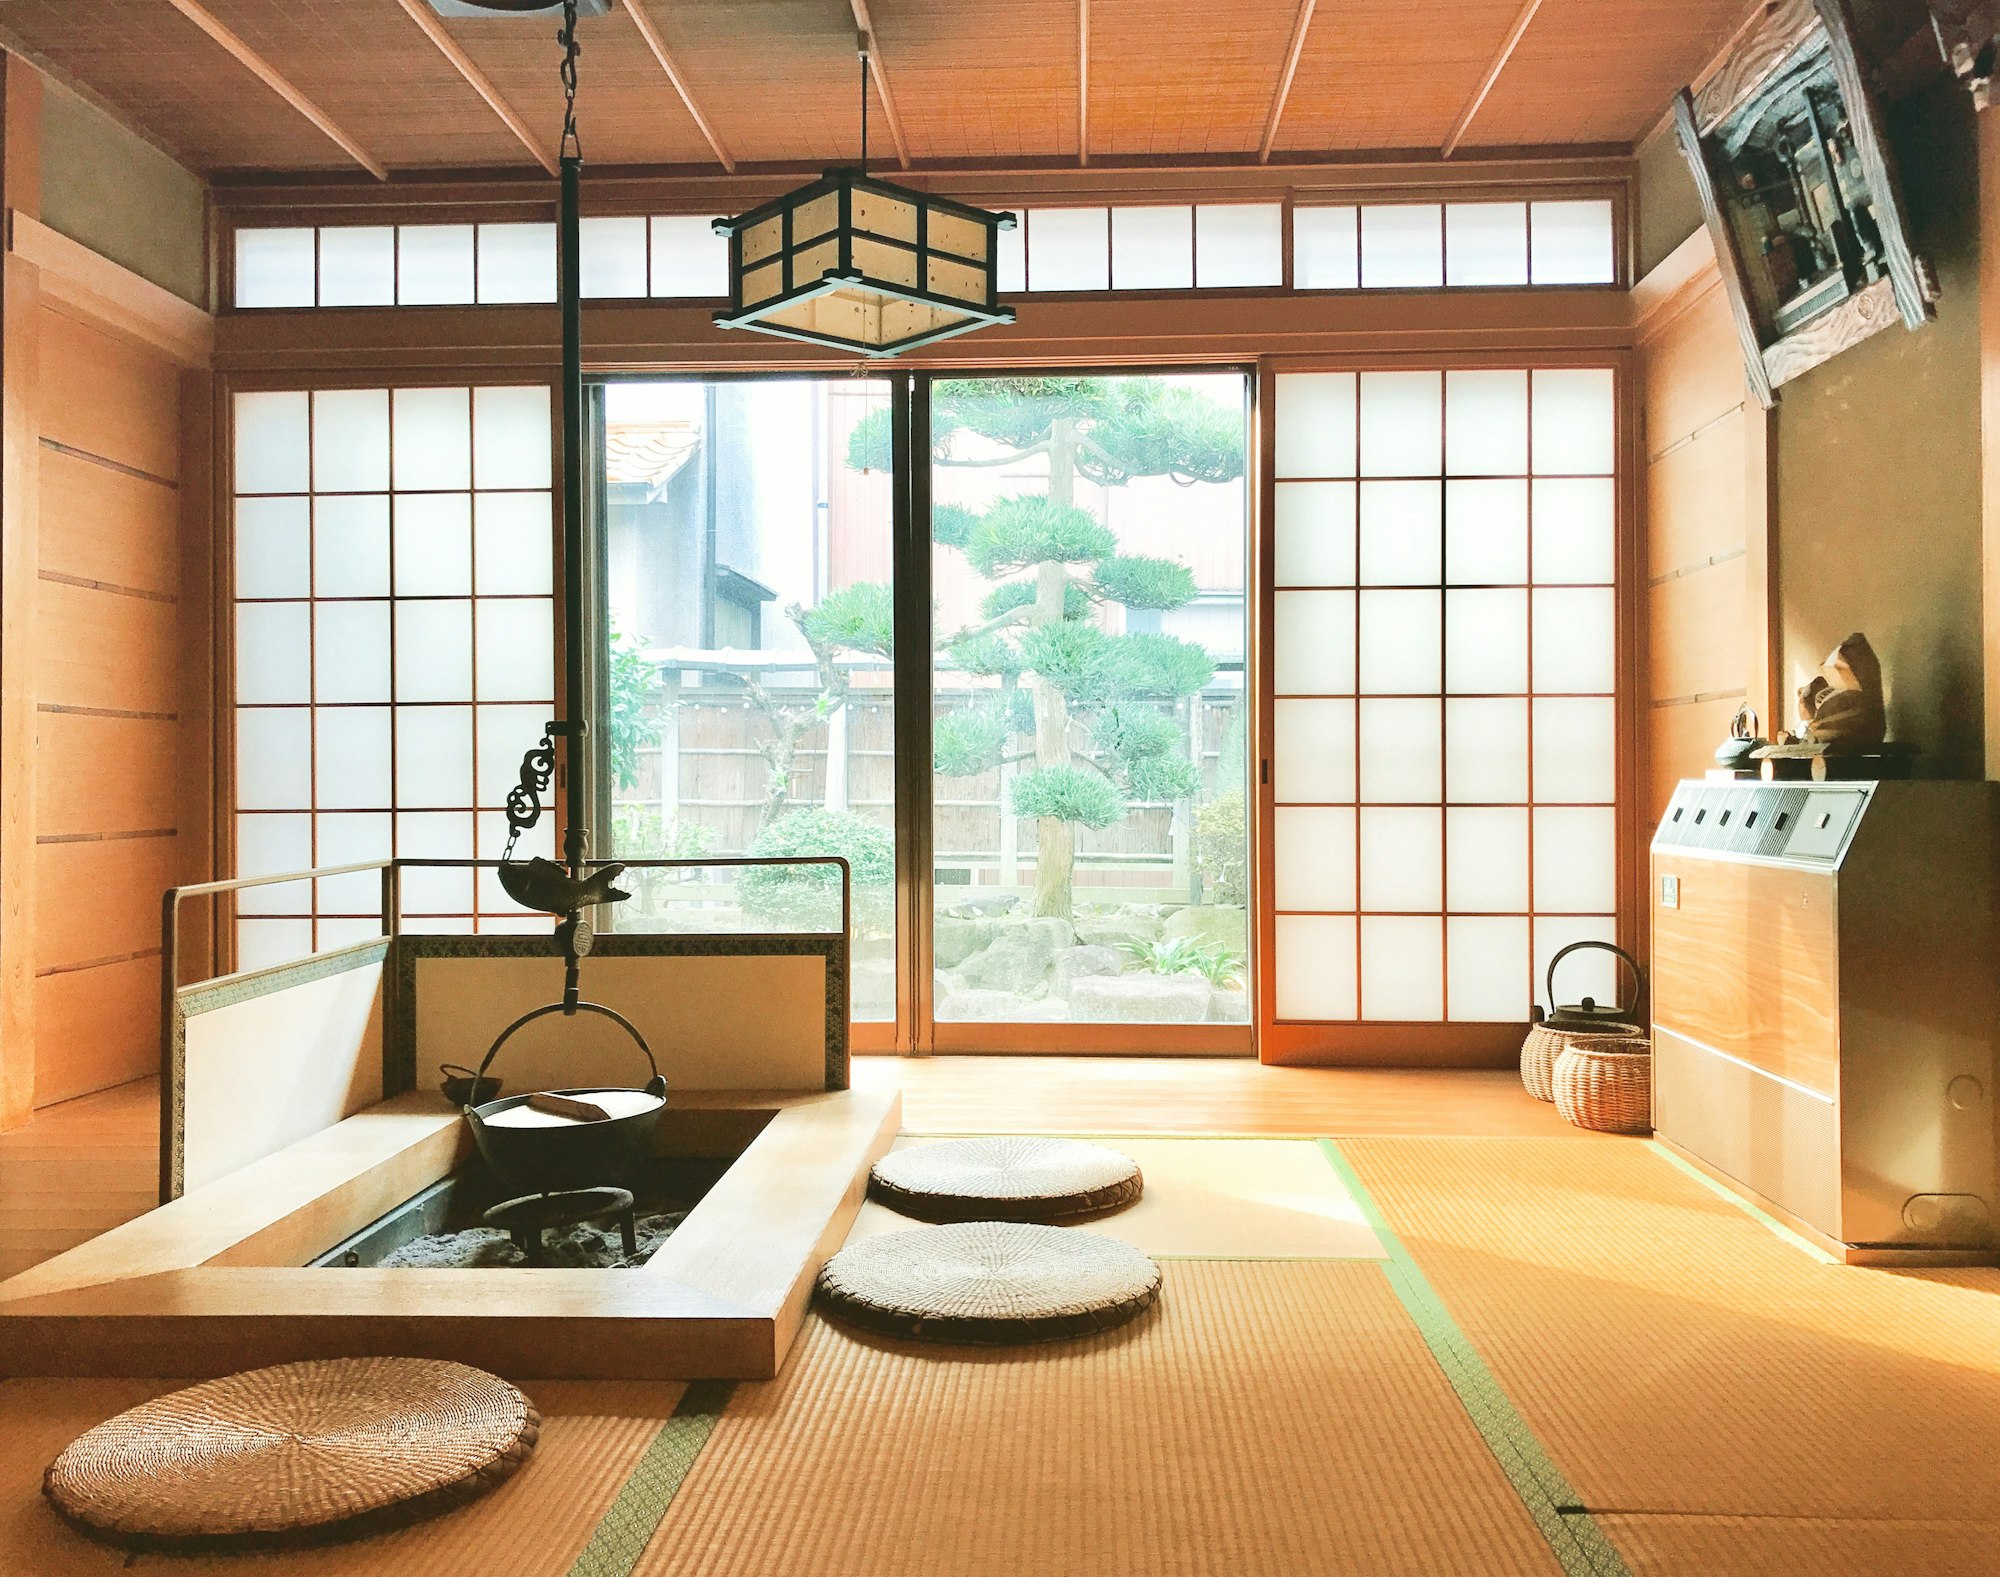
Japanese furniture
A tatami (畳) is a type of mat used as flooring in traditional Japanese rooms (Wikipedia)
Their core is usually made of rice straw and they are usually around 1.8m x 0.9m in size. Japanese homes are usually small and the rooms are multi-purpose, which make the tatami a bit special. It's the same word for the flooring used in dojos.
Futon (布団) is the traditional Japanese style of bedding. A complete futon set is composed of a mattress (敷き布団, shikibuton, lit. "spreading futon") and a duvet (掛け布団, kakebuton, lit. "covering futon"). Both elements of a futon bedding set are pliable enough to be aired, folded and stored away in a large closet (押入れ, oshiire) during the day allowing the room to serve for purposes other than as a bedroom. (Wikipedia)
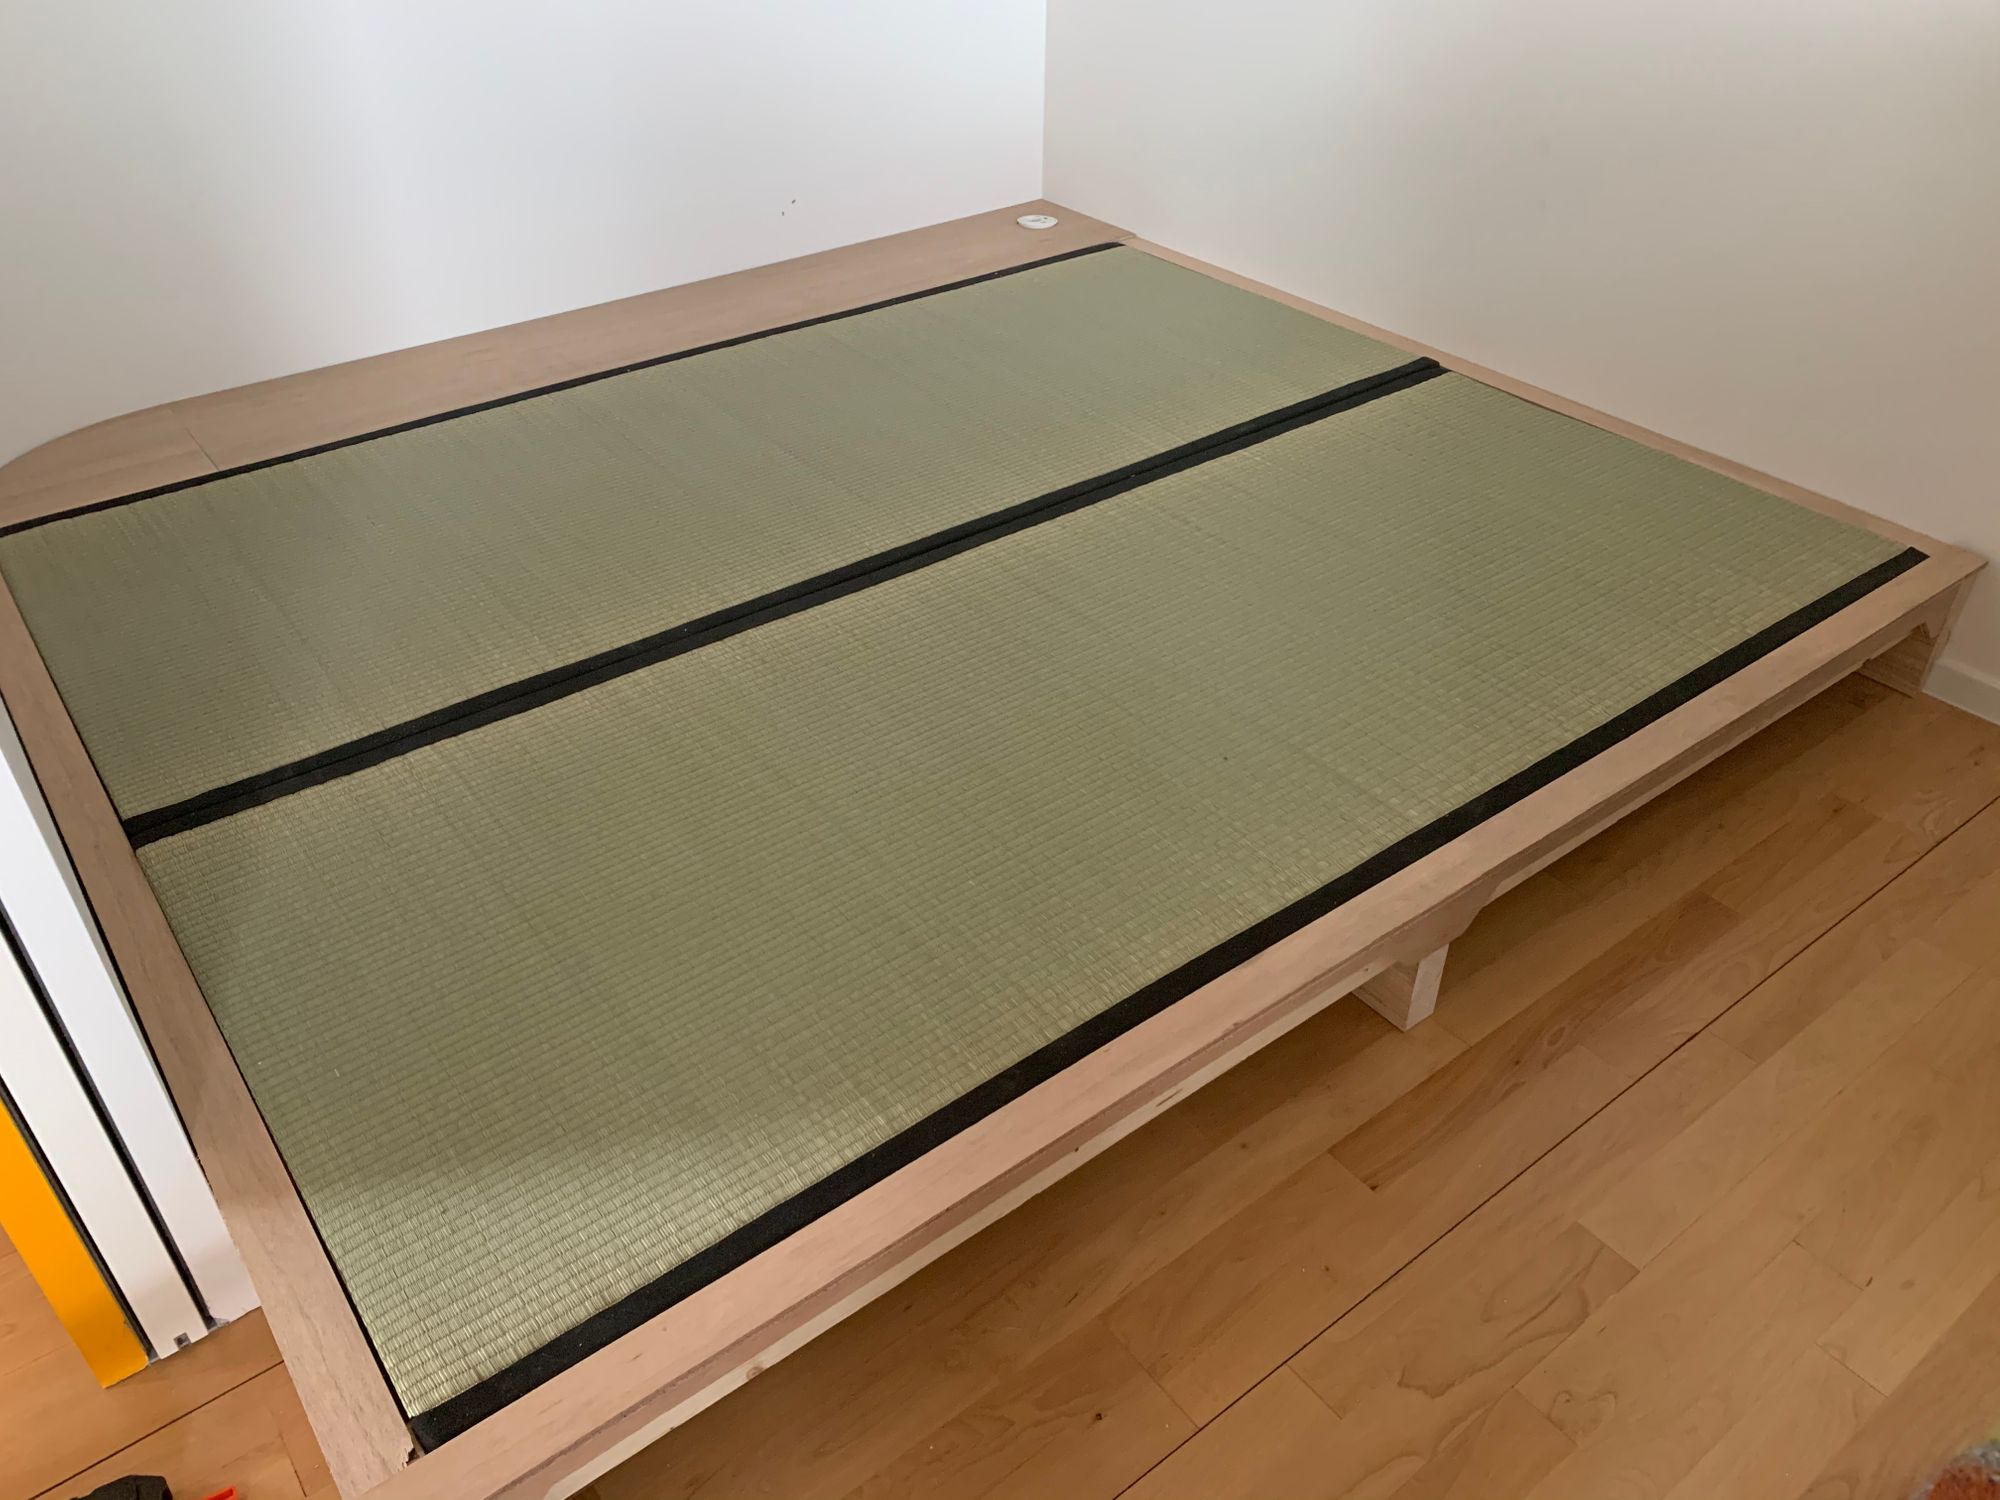
So practically, we bought two tatamis and a shikibuton, from a Danish supplier located North of Copenhagen. The products this store provide are tatamis which are traditionally made, 5.5cm thick, and imported from Japan in "export dimensions" (2.0m x 0.8m), and futons made in Poland (we chose one closest to the "normal" shikibuton, made in the traditional spirit in cotton only, ~10cm thick).
Design
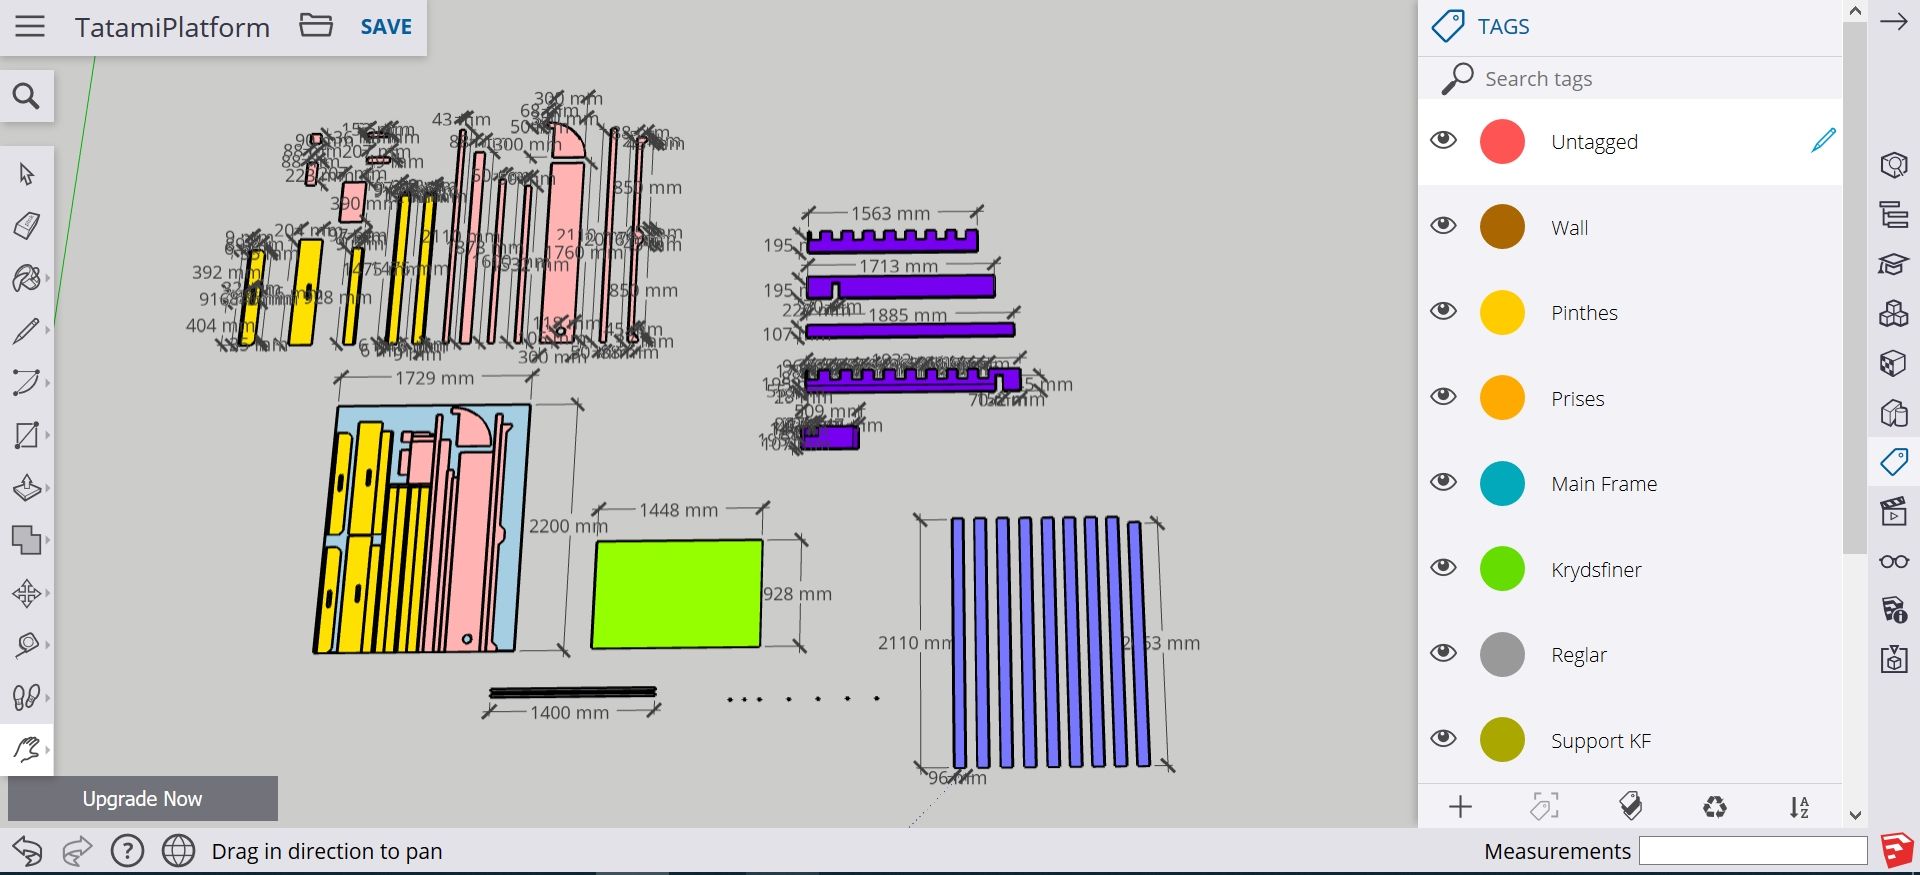
Our thoughts were put into a 3D model using SketchUp Free, a 3D modeling software which used to be part of Google and was acquired by Trimble in 2012. Their latest version with limited features (extensions, export options, etc.) is available for Free as a Web-only application, and it's a very powerful tool for hobby projects. A lot of semi-pros / pros (such as many Youtube channels about DIY Woodmaking) use the Pro version to develop their projects.
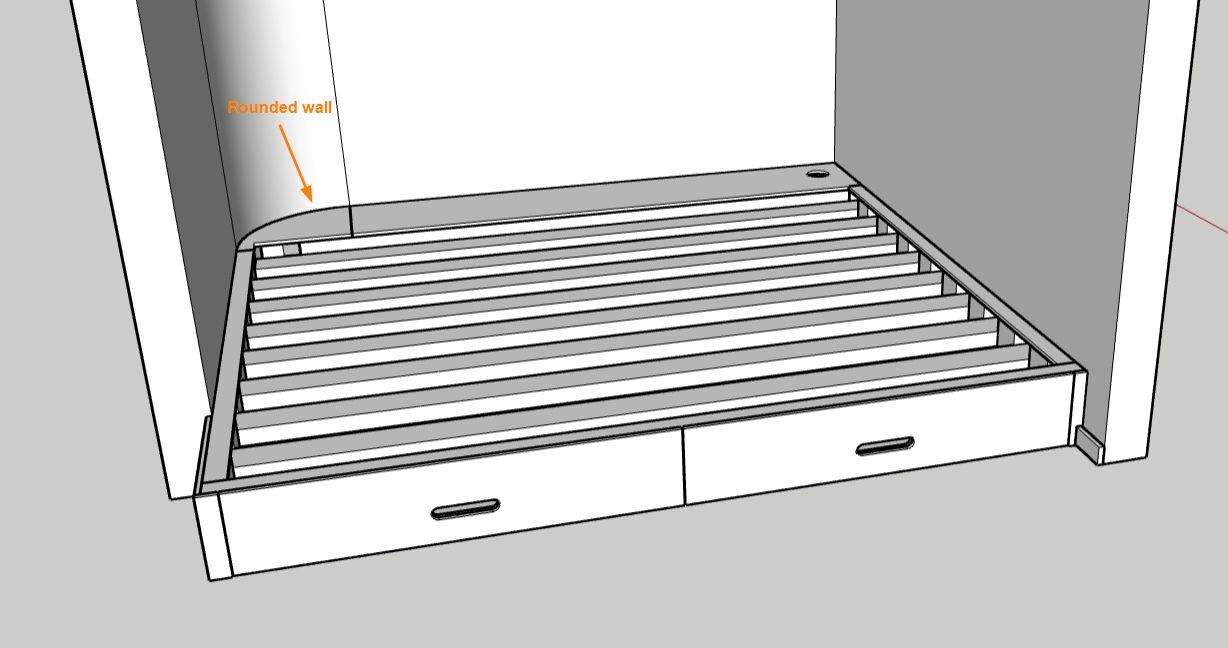
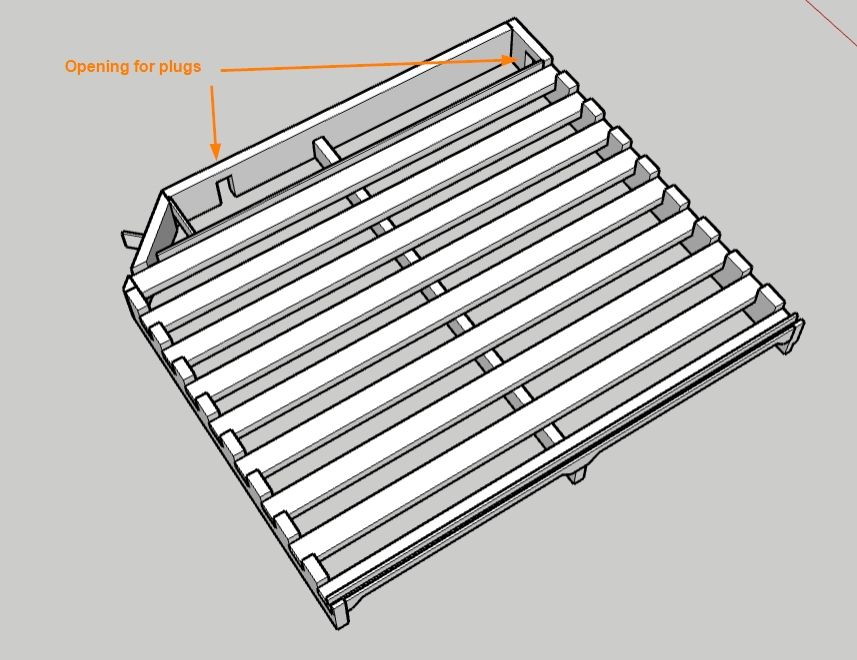
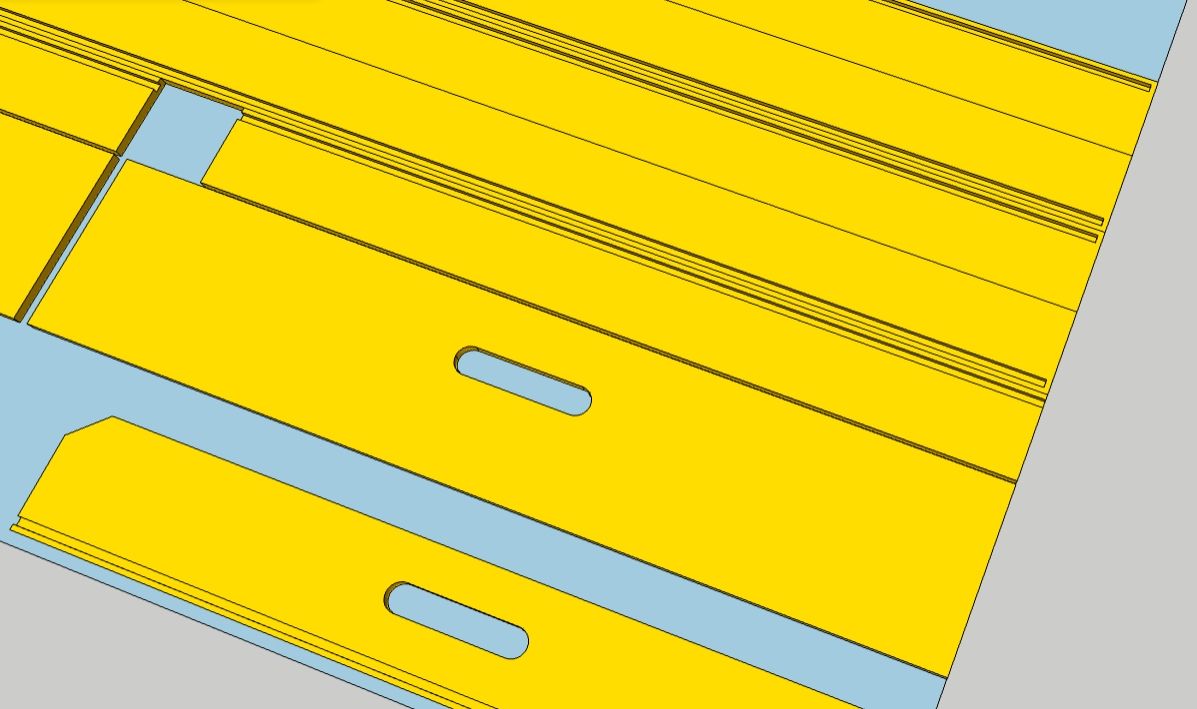
Screenshots of the SketchUp model
We aimed at a roughly 20cm height, not too close to the floor and not too high to climb on it easily. We also had a few specifics to take into account:
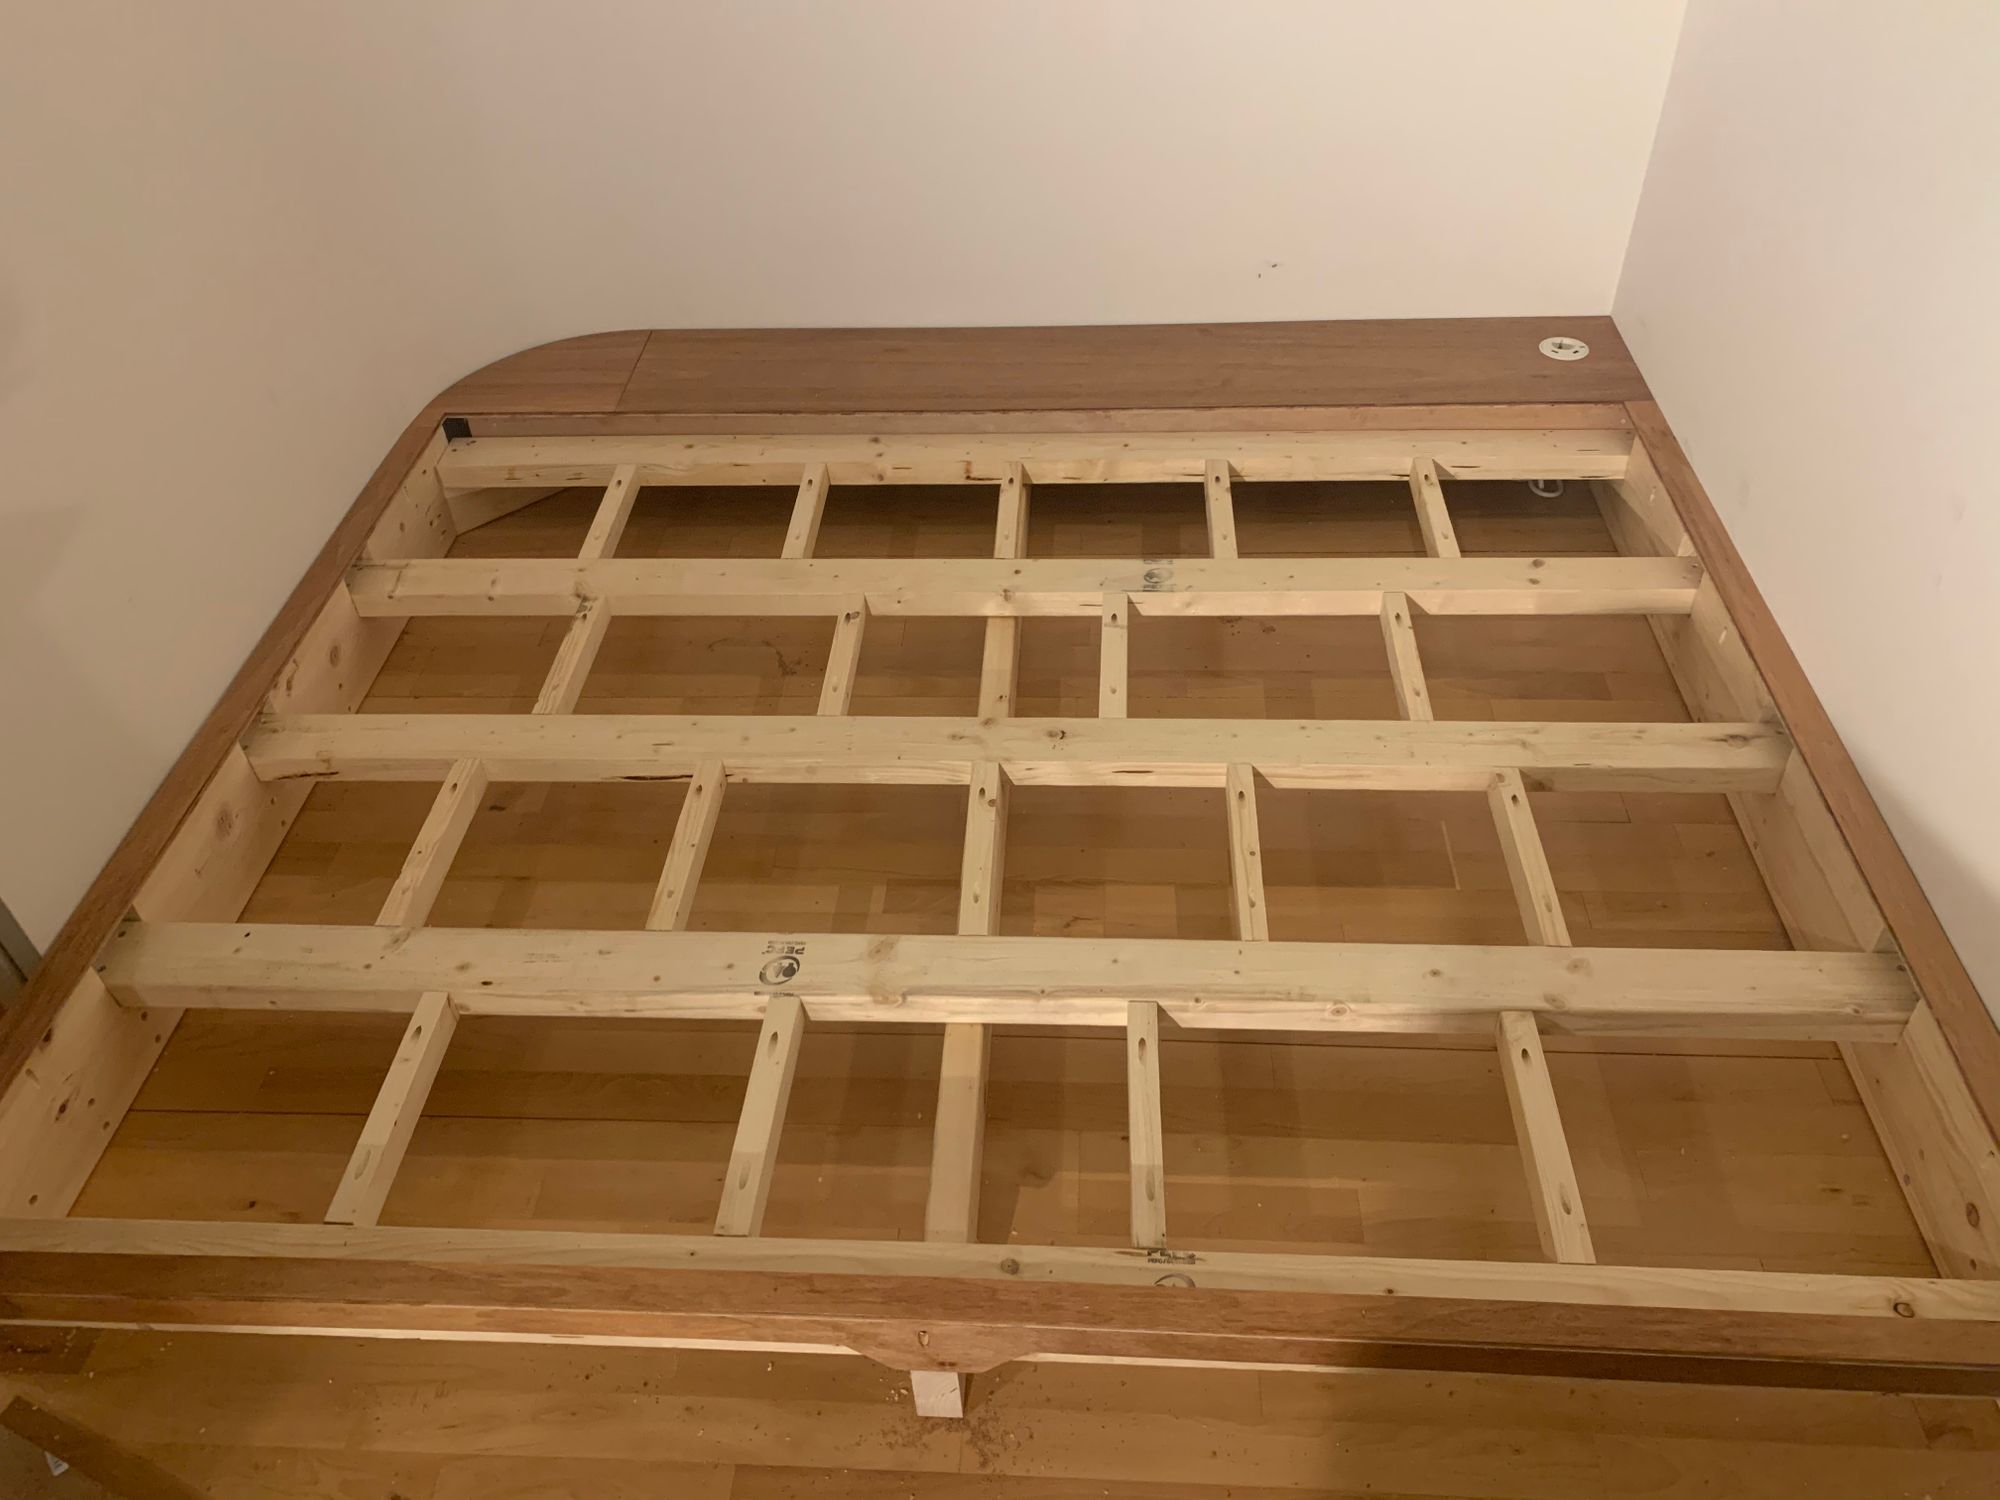
The amazing rounded corner of our dividing wall, designed by Camille
- The baseboards on two sides, and two electrical plugs that are sticking out: we got the idea to add an electrical connection in the platform for guests who want to charge their e-stuff.
It you want to look at the file to check the details, get inspired or adapt it to your own project, feel free to download it here (password: tatami0001)!
Material
- For the wood, I wanted some sturdy construction. It's probably oversized but I know it will hold :) Big construction wood planks were used for the three main sides (195mm high), while 2x4's were used for the inner structure. For all the finishing elements, I aimed for a good balance between weight, cost and aspect, and opted for 12mm plywood (with the exception of 8mm MDF boards for the drawers' bottom, slightly cheaper and with a smoother look to use as bottoms)
- For the drawers, I was faced with the unavailability of drawers slides of the size I needed (~1.5m long drawers). Some 1m-ish sliders costed around 250€ a pair on the internet. So I decided to make my own, using aluminum profiles (that we found in a foundry North of Copenhagen), threaded rods, ball bearings and nuts.
- In terms of tools, I was so lucky to be able to loan some tools from my colleague Frederik (thank you!! :)) such as a circular saw, a stick saw, sawhorses and clamps; while I also used my driller with all kinds of bits, my file, and my metal handsaw.
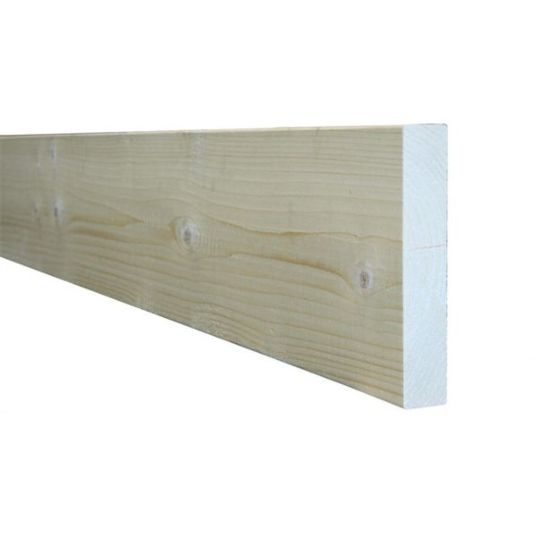

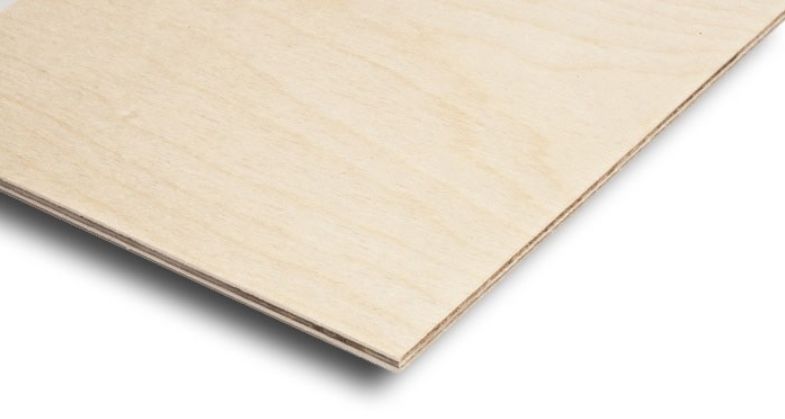


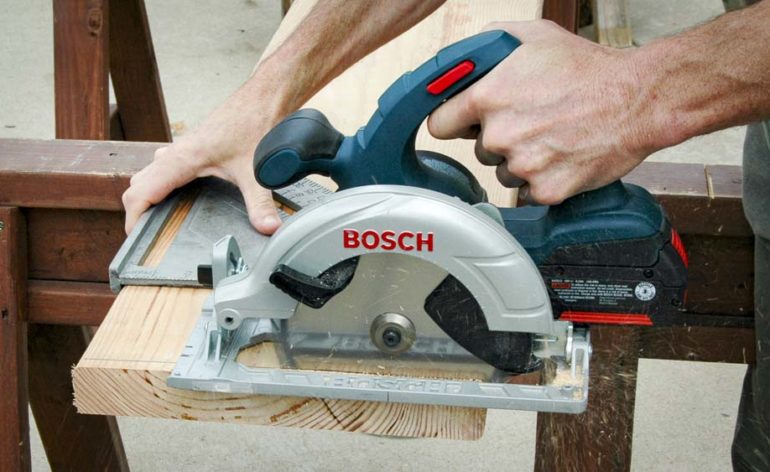

Top left to bottom right: 2x4s (reglar), construction wood (spærtræ), plywood (krydsfiner), ball bearings (kugleleje), threaded rod (gevindstang)aluminum profile (firkantet aluminumsrør), stick sak (stiksav), circular saw (rundsav), driller (boremaskine)
Building
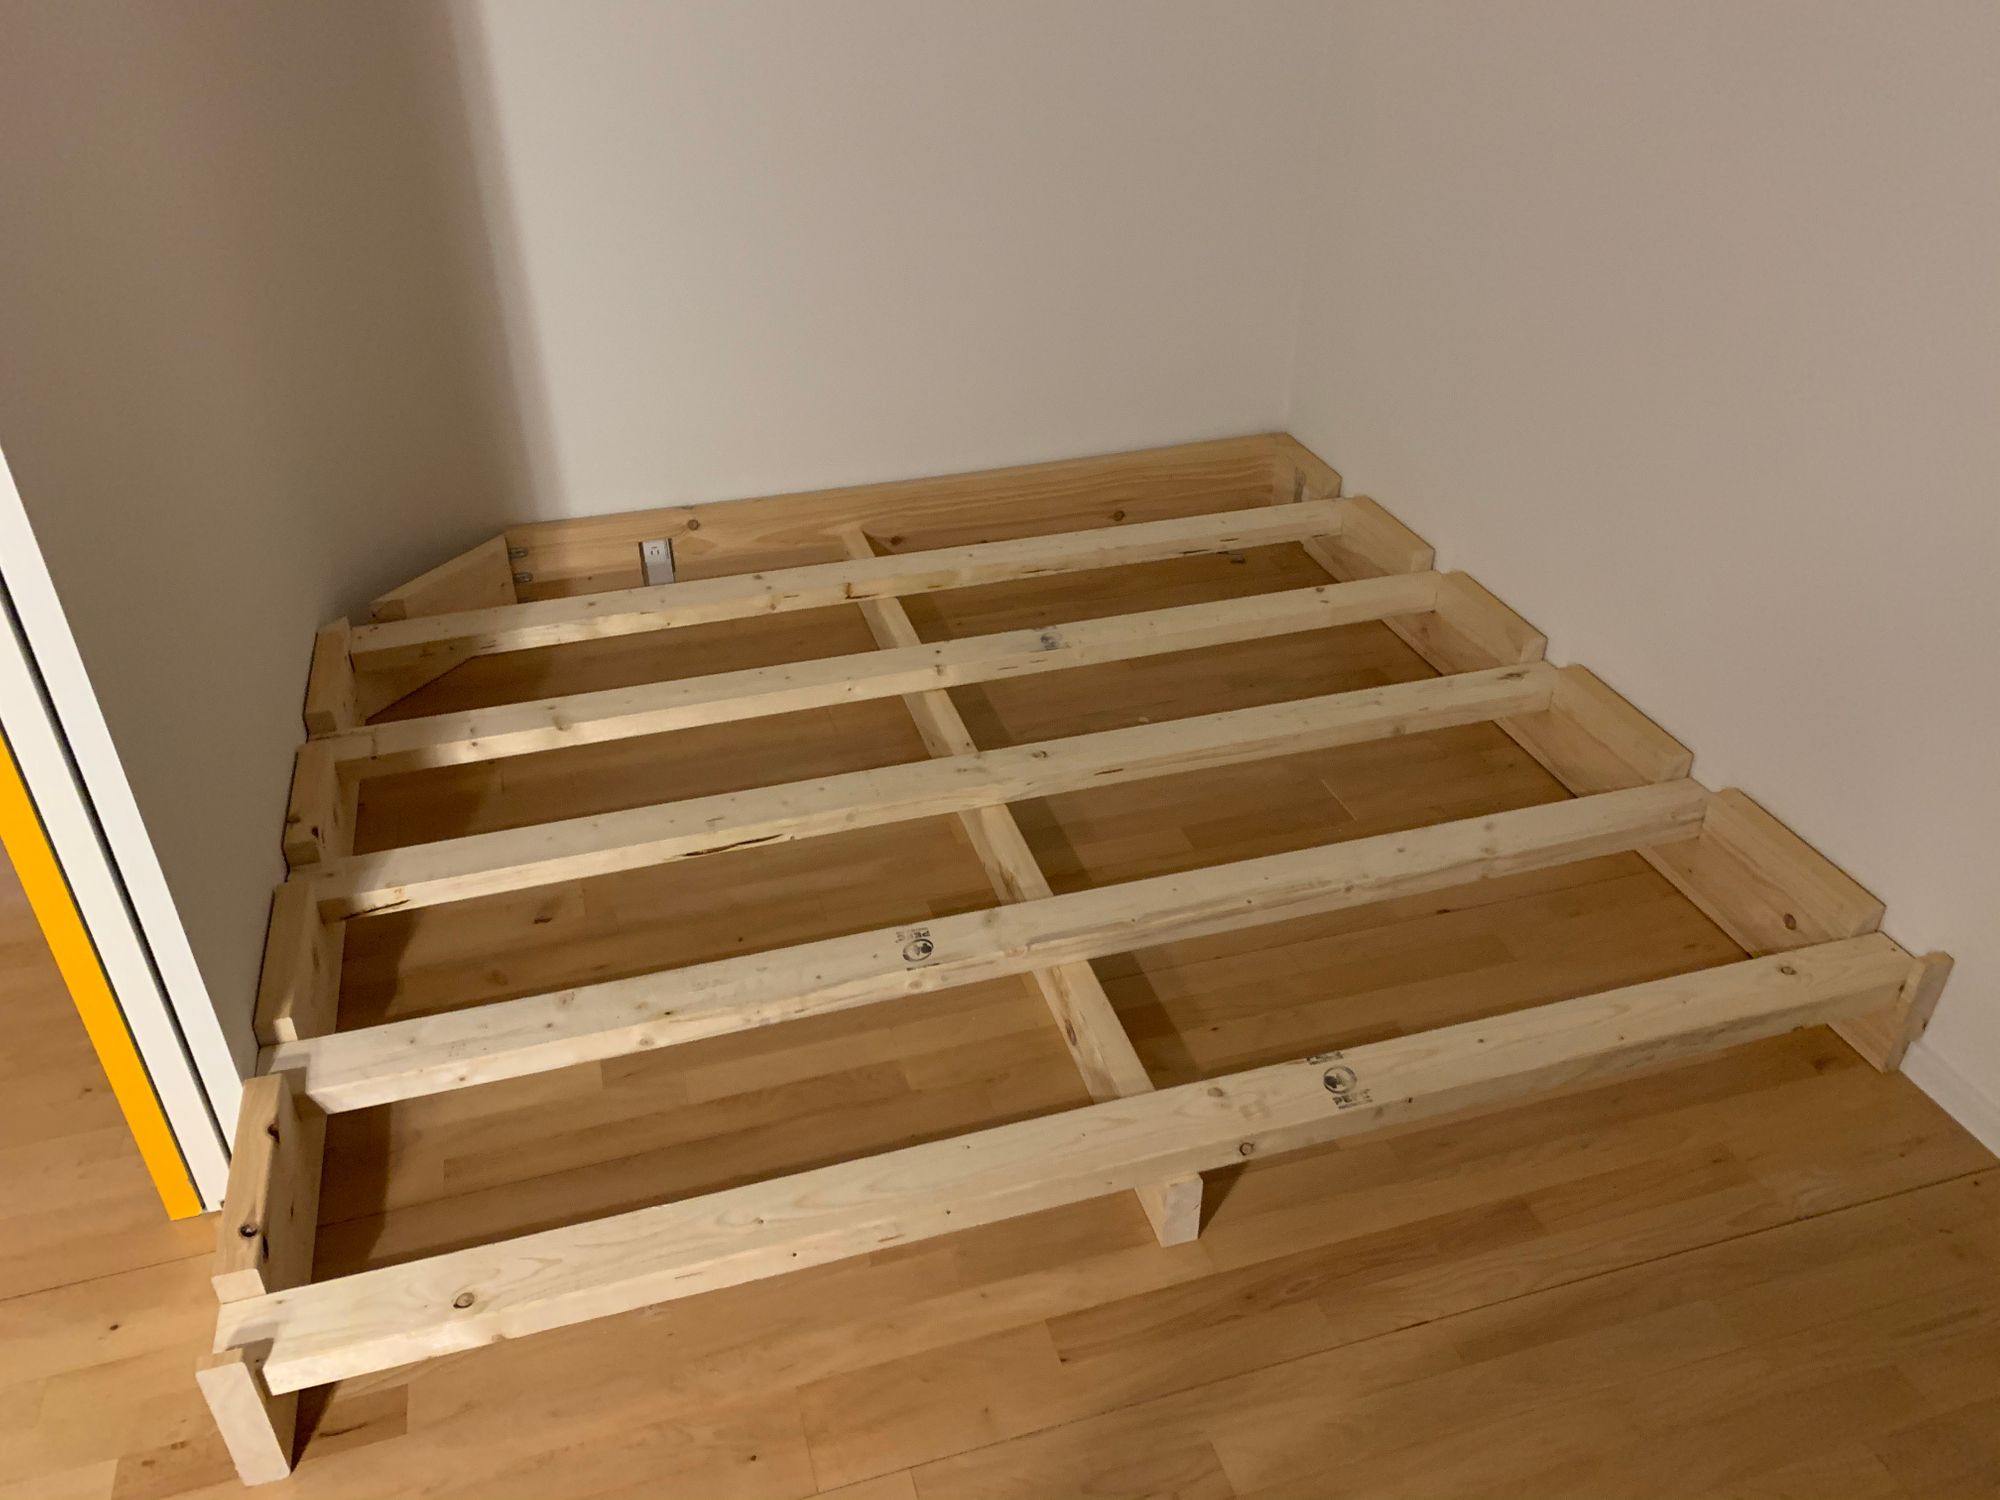
Main structure
The first step was to build to main structure. I cut all the planks to length, then cut all the slots (for the slats, and for the plugs sticking out) with the stick saw. The most tricky piece was the 45 degree piece at the rounded corner: the side didn't really fit with the board next to it, so I had to add some metal corners to assemble the two. The slots were not perfect, so had to sand them here and there for the boards to sit tight and stable.
First lesson: nothing's straight and according to plans !
Eventually, I ended up with a nice looking main frame!
Note: if I had to redo it, I would add more (and maybe thinner) slats, so that there are less large holes between them. The tatamis are relatively solid pieces, but they do sag when you step on them right in-between the slats. I ended up correcting as much as I could with reasonable time, by adding quite a lot of smaller intermediate pieces of wood across.
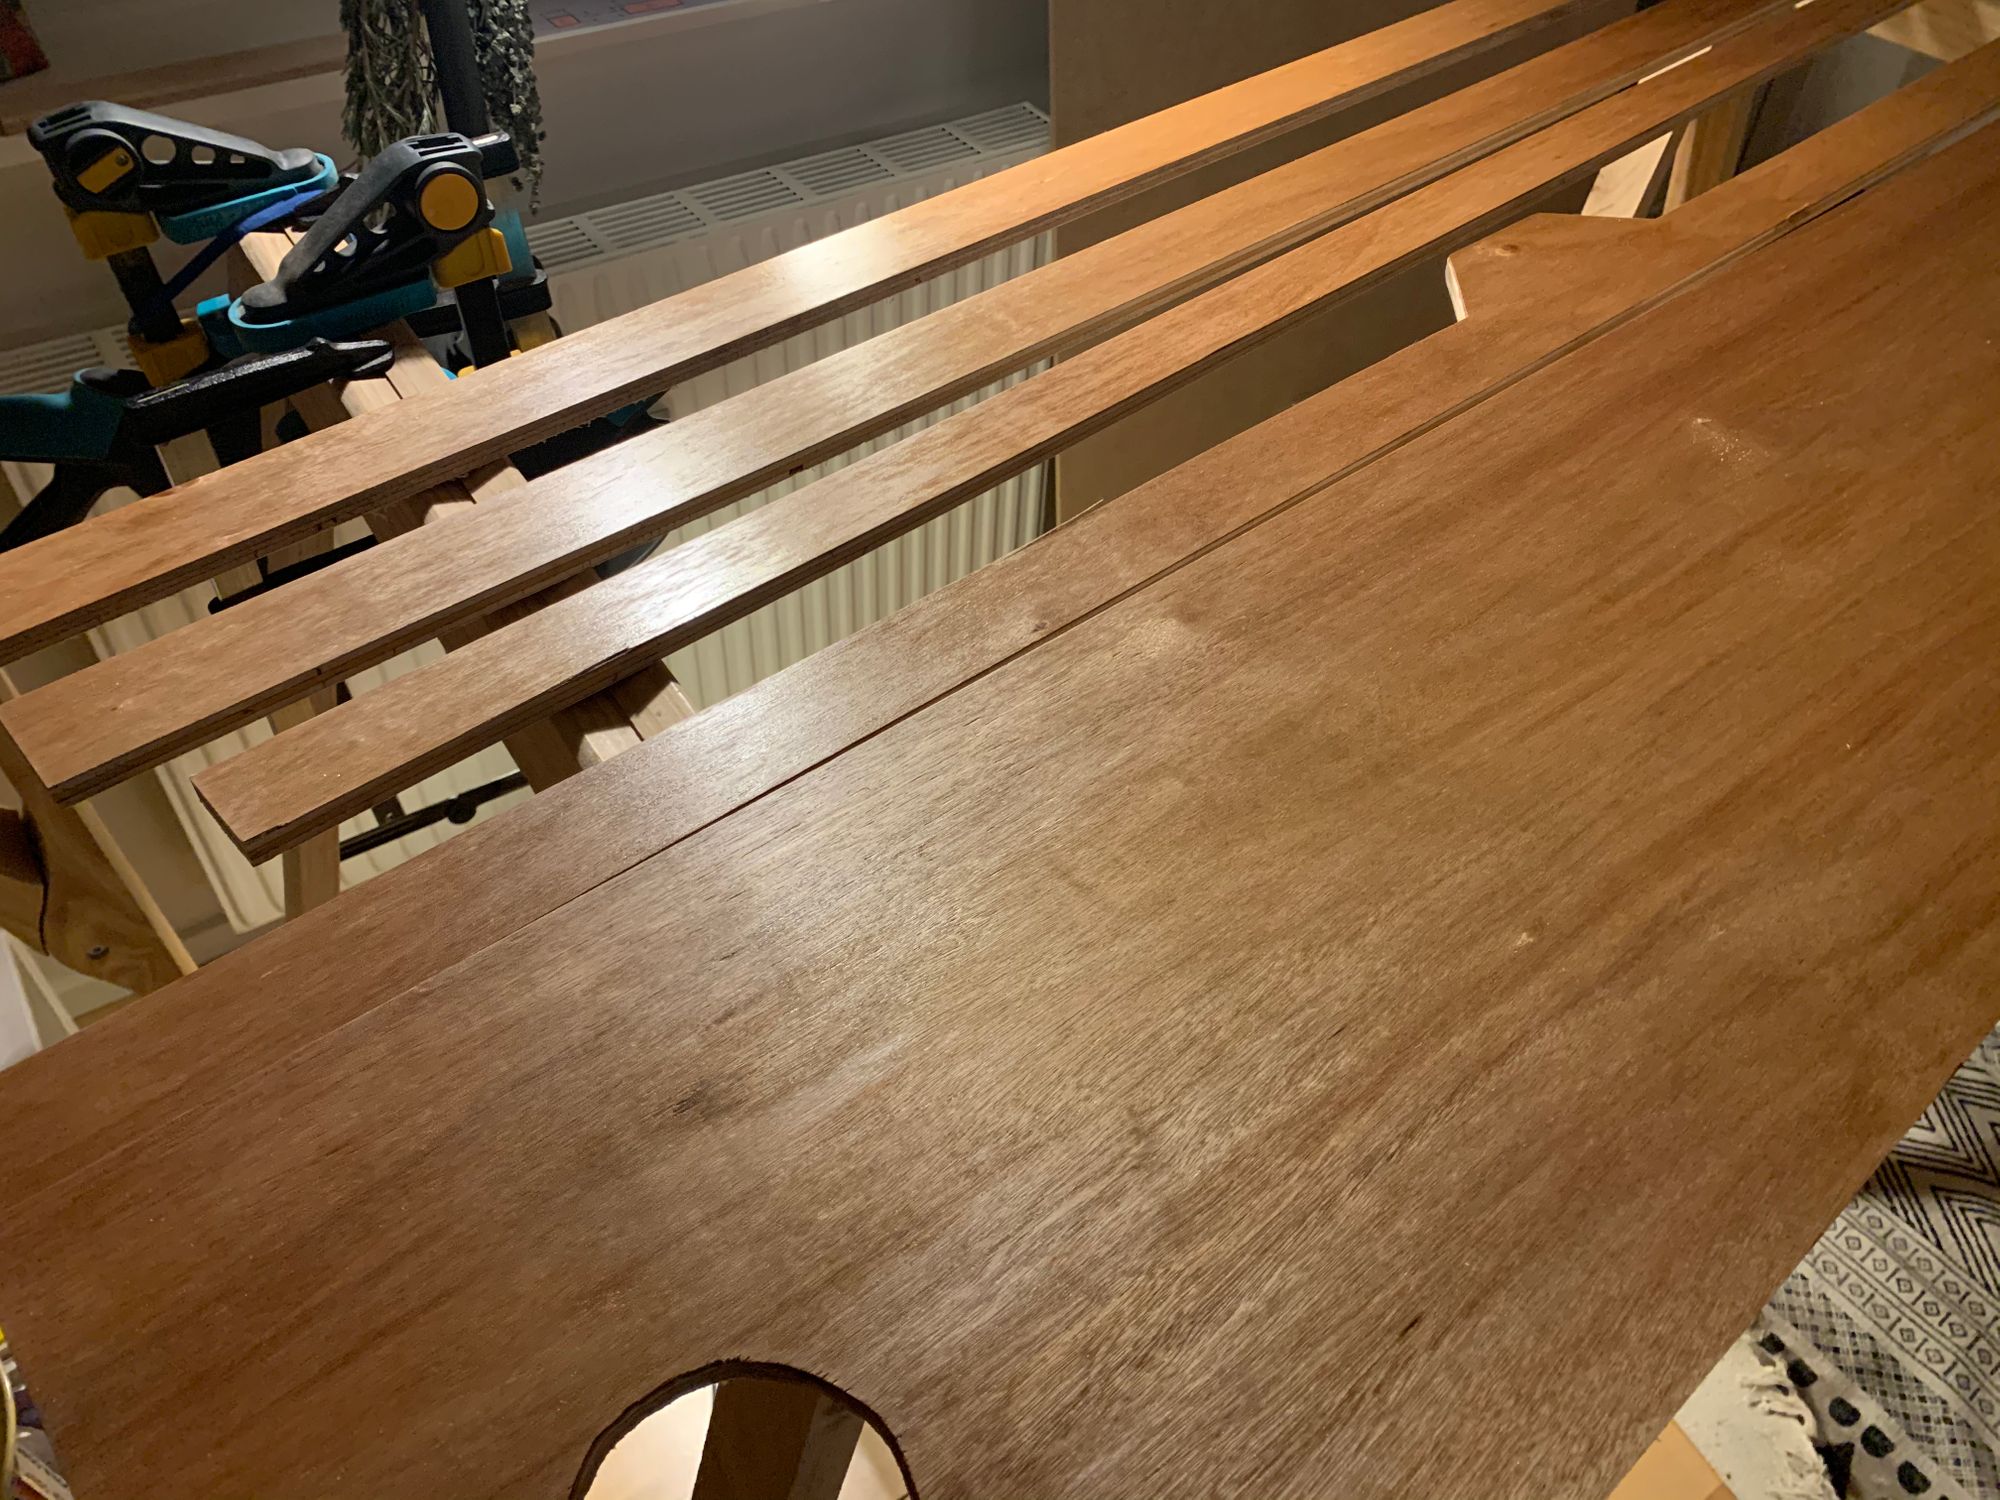
Finishing elements
For the decorative finishing elements, I first cut all the plywood at the right dimensions. What made it very long is that I only had a circular saw: every cut had to be calibrated with a flat board used as a guide, fixed with clamps etc. It would have been much easier with a table saw but it was a nice challenge, and manageable with extra time.
I managed to fit the different pieces with a bit of trial and error. Again, it's good to measure more often that the space you need to fill corresponds to what you had planned in the 3D model. I had to adjust dimensions by a few millimeters here and there.
For the assembly, I used pocket holes as much as I could so that no screw would be visible and to have robust corner assemblies.
To finish the wood, we tried different types of products. In Denmark, you can't really find the types of wood stain available in the US and mentioned in many DIY Youtube videos. There was some powder wood stain (bejdse) which proved to be horribly feverish yellow, some rustic oil which was very light, and when applying a combination of both we weren't quite satisfyed. In the end, we ended up choosing to use vegetable oil (flax oil / hørfrø olie / huile de lin) and the result is actually very nice and organic :)
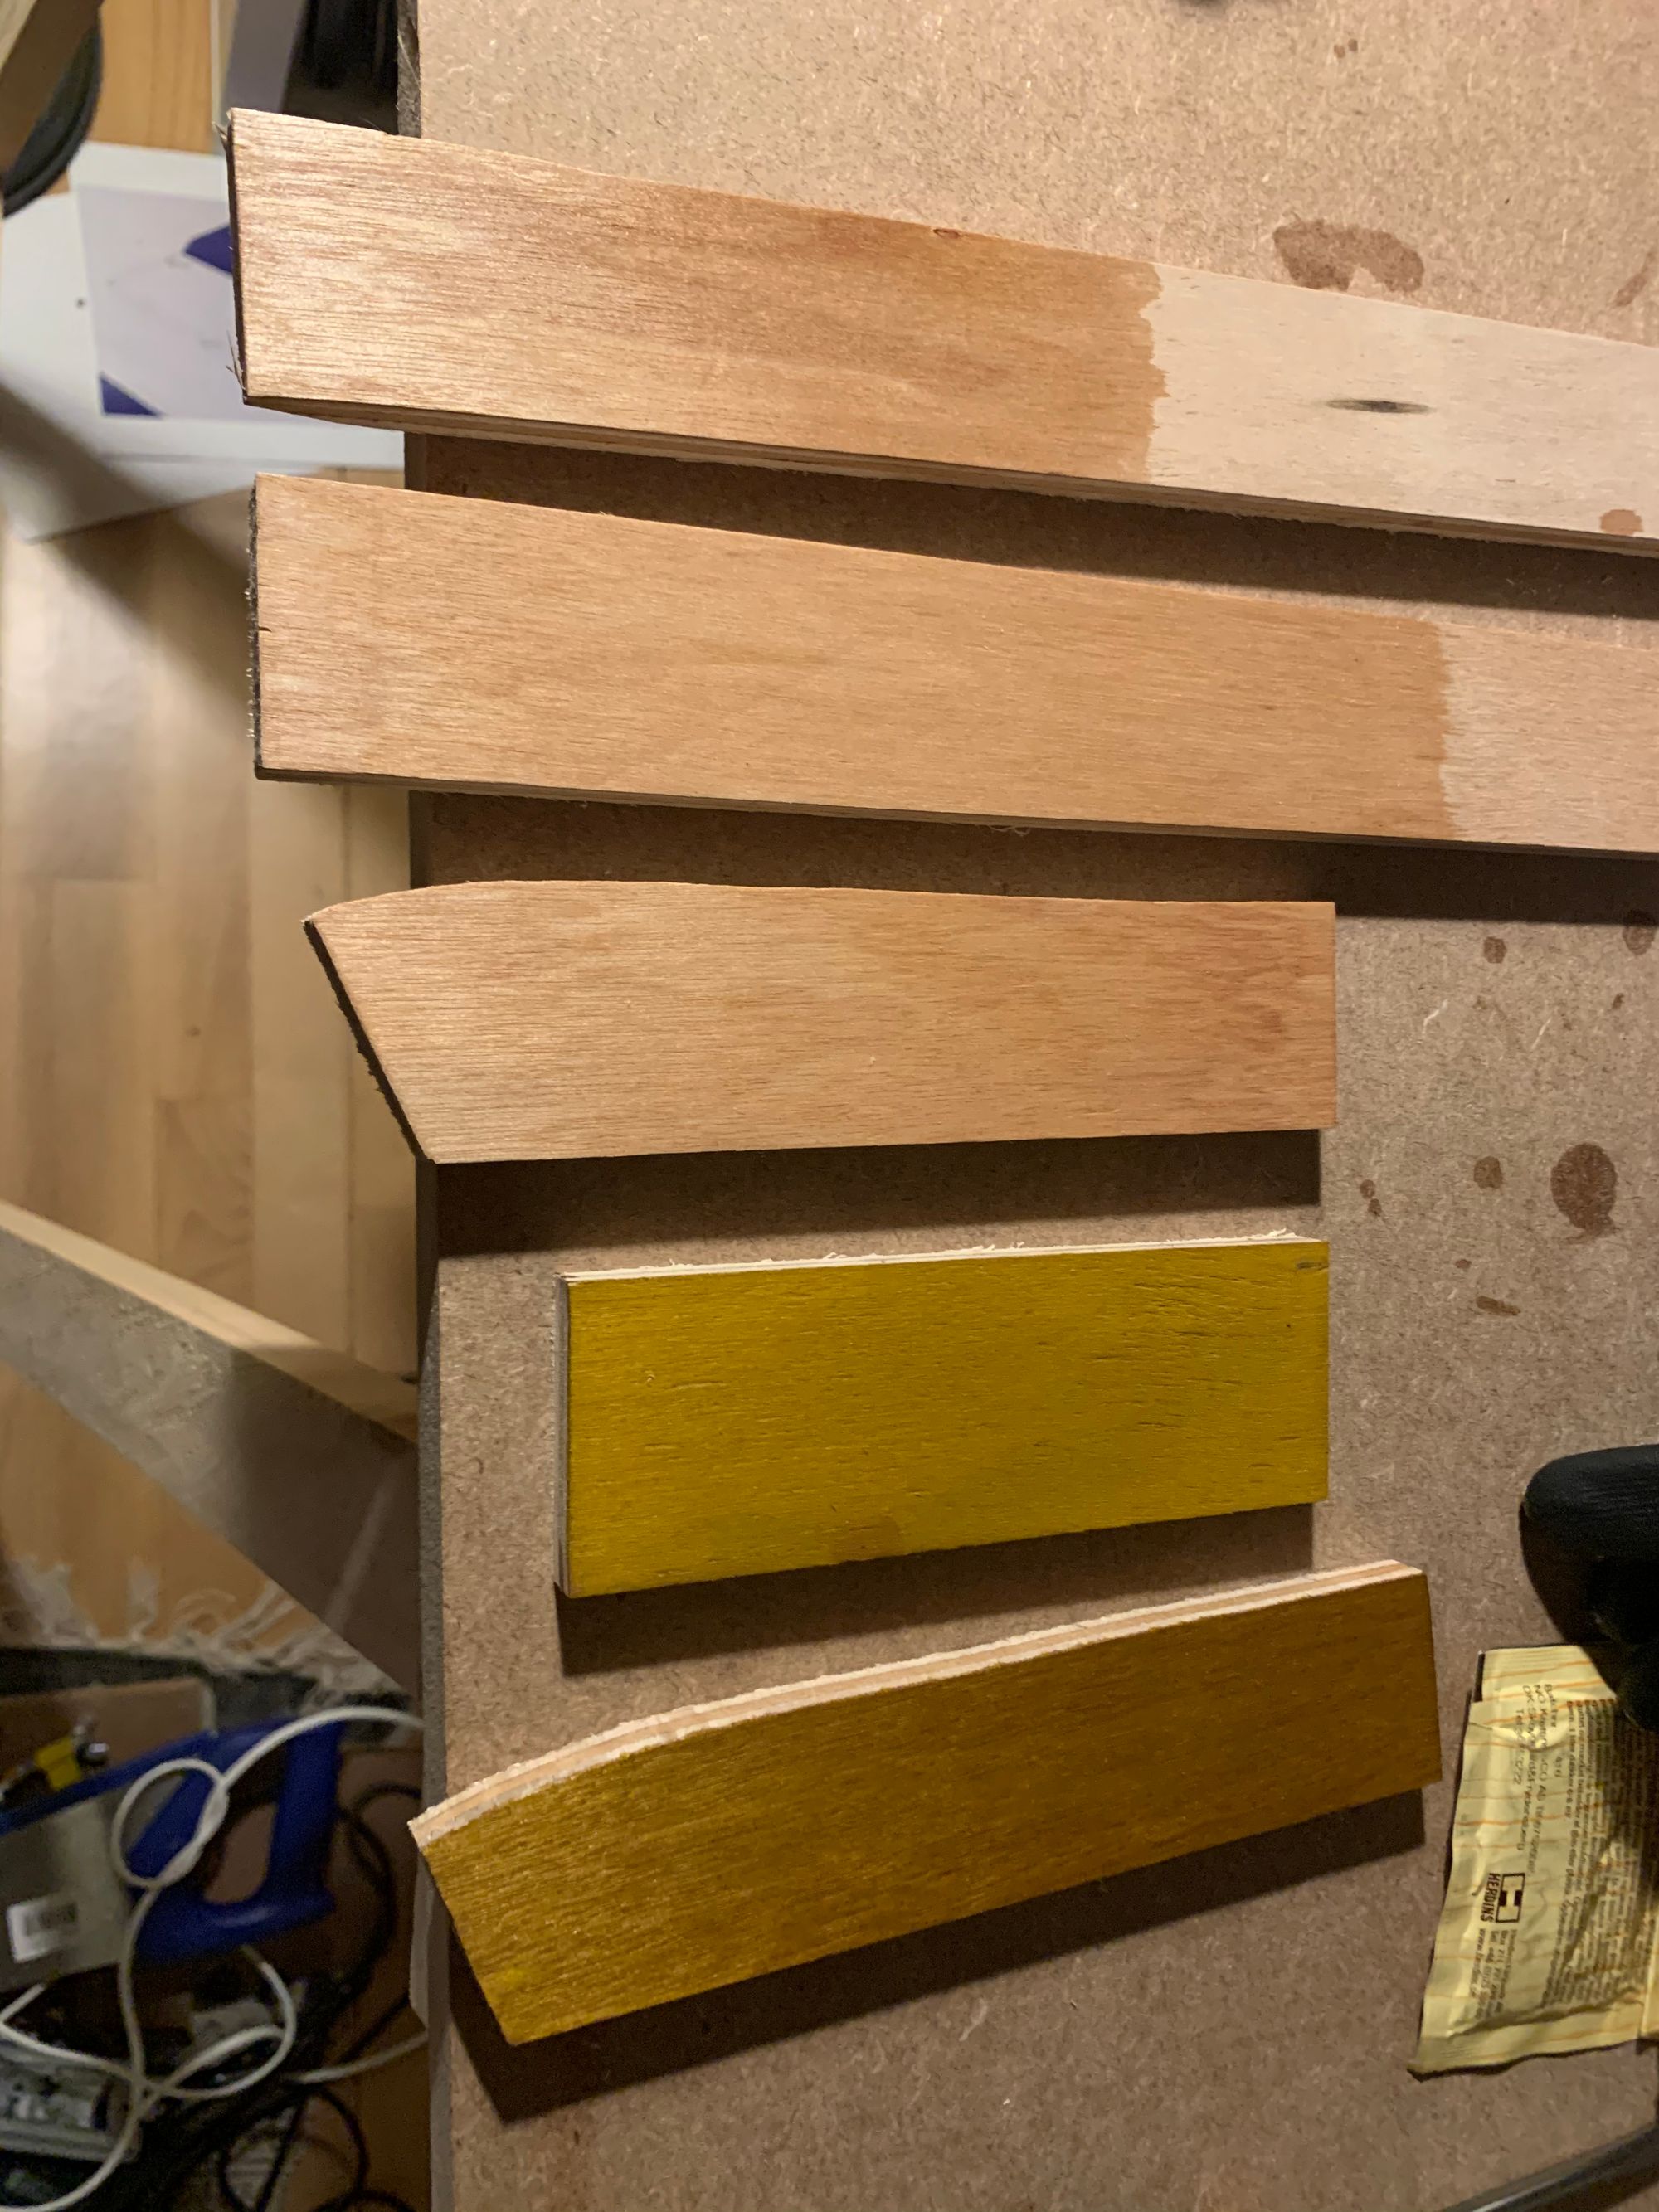
Left: different trials, tree oil or two sorts and different number of layers (1 to 3), bejdse, and combination of the two first. Right: during the finish application process using flax oil
I sanded the wood, applied 3 layers with 24 hours in between applications. The result is a very natural and noble finish.
Drawers
The wooden part of the drawers consists of 12mm plywood that I combined with 8mm MDF boards for the bottoms. I doubled the front so that the drawers would fit nicely onto the existing structure when closed.
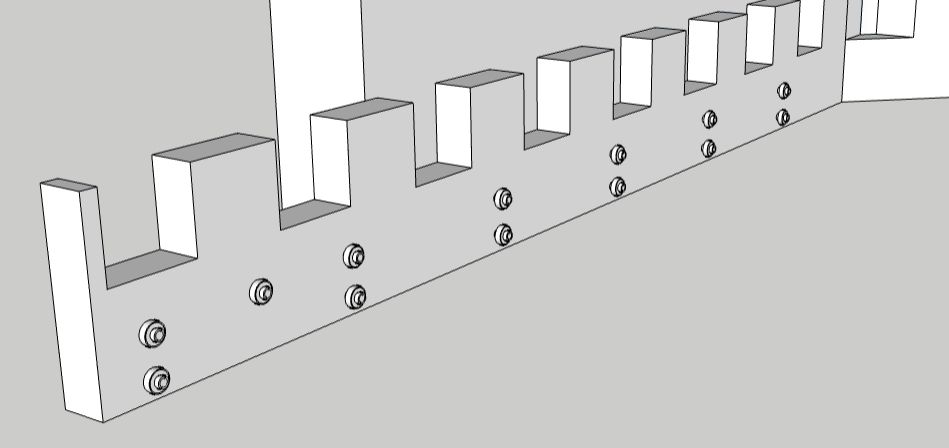
For the assembly, I decided to introduce assembly slots (see picture below) so that the back side as well as the bottom would be fit into the other sides, for a more robust construction. It was a bit tricky to cut those slots due to their width (8-9mm when the saw's blade is 3.5mm wide), and that the cuts are not through (6-7mm into the 12mm boards): I adjusted the blade height and tested the cutting depth first, and then made several passes, adjusting my guide board and clamps. I was afraid it would take a lot of time or not work, but it actually went quite well and faster than I had imagined.
Placing the bearings was quite a pain in the ass. 56 sets of: cut threaded insert -> threaded rod, nut, bearing, and nut. And of course, when you try to align the 14 bearings per side, ... nothing ends up straight, especially when the drilling setup is not optimal (manual driller, rough placement of holes). But surprisingly, with a bit of sanding and readjustements, it kind of aligns, and the slides ... are sliding!
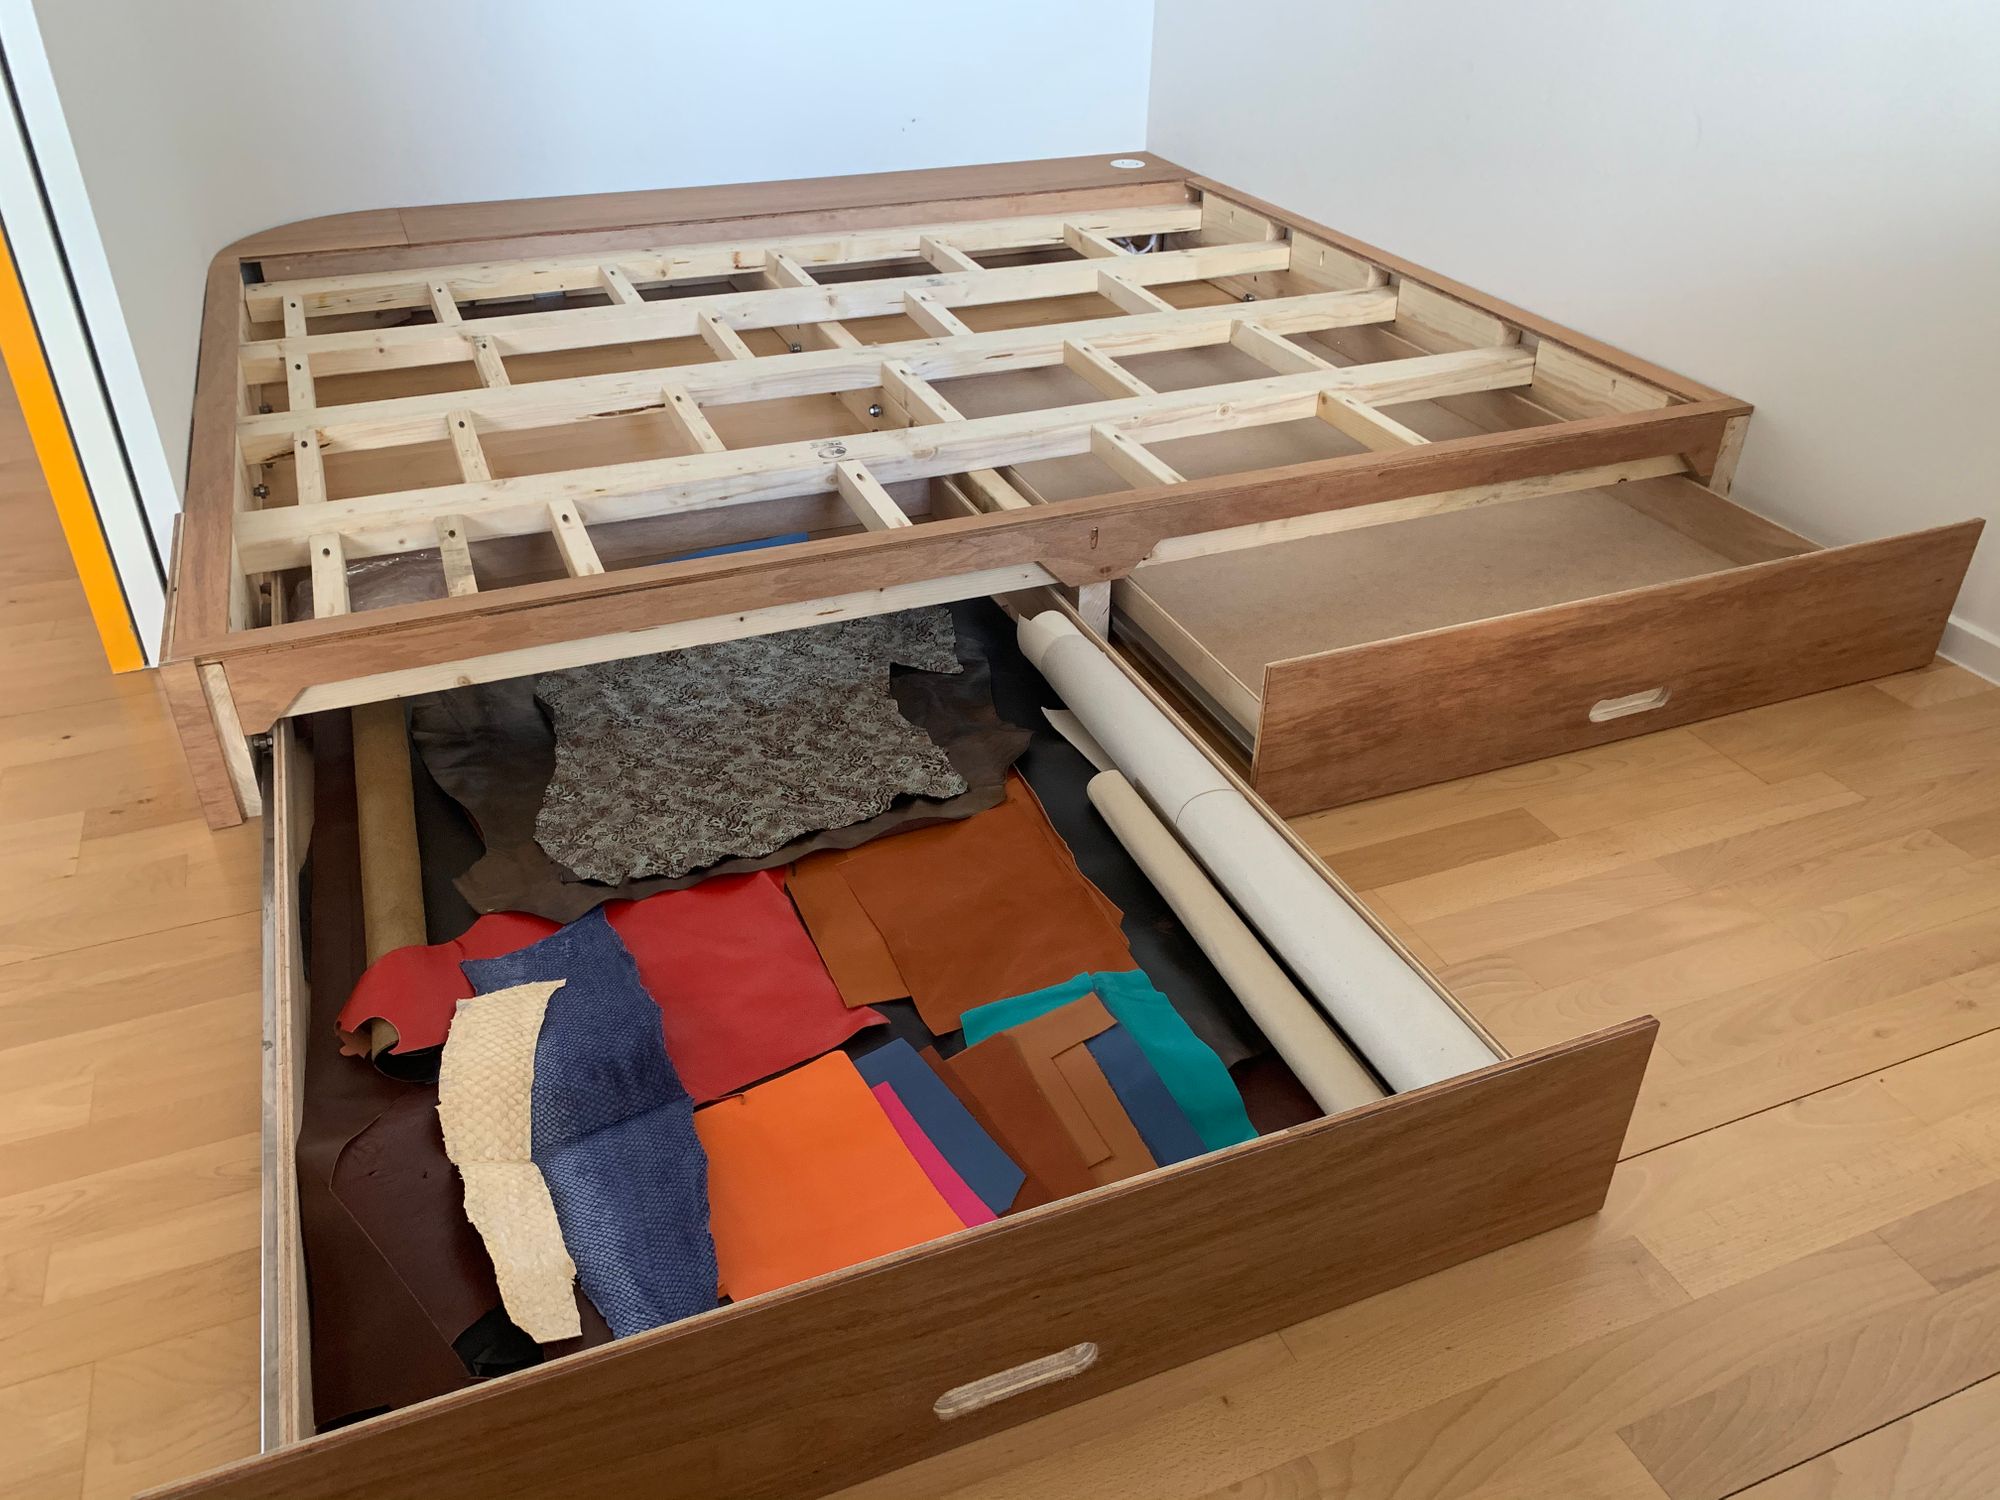

Here's the final result, with big 1m x 1.5m drawers on custom slides. It slides a bit roughly at times, but with the right gesture they open and close nicely :)
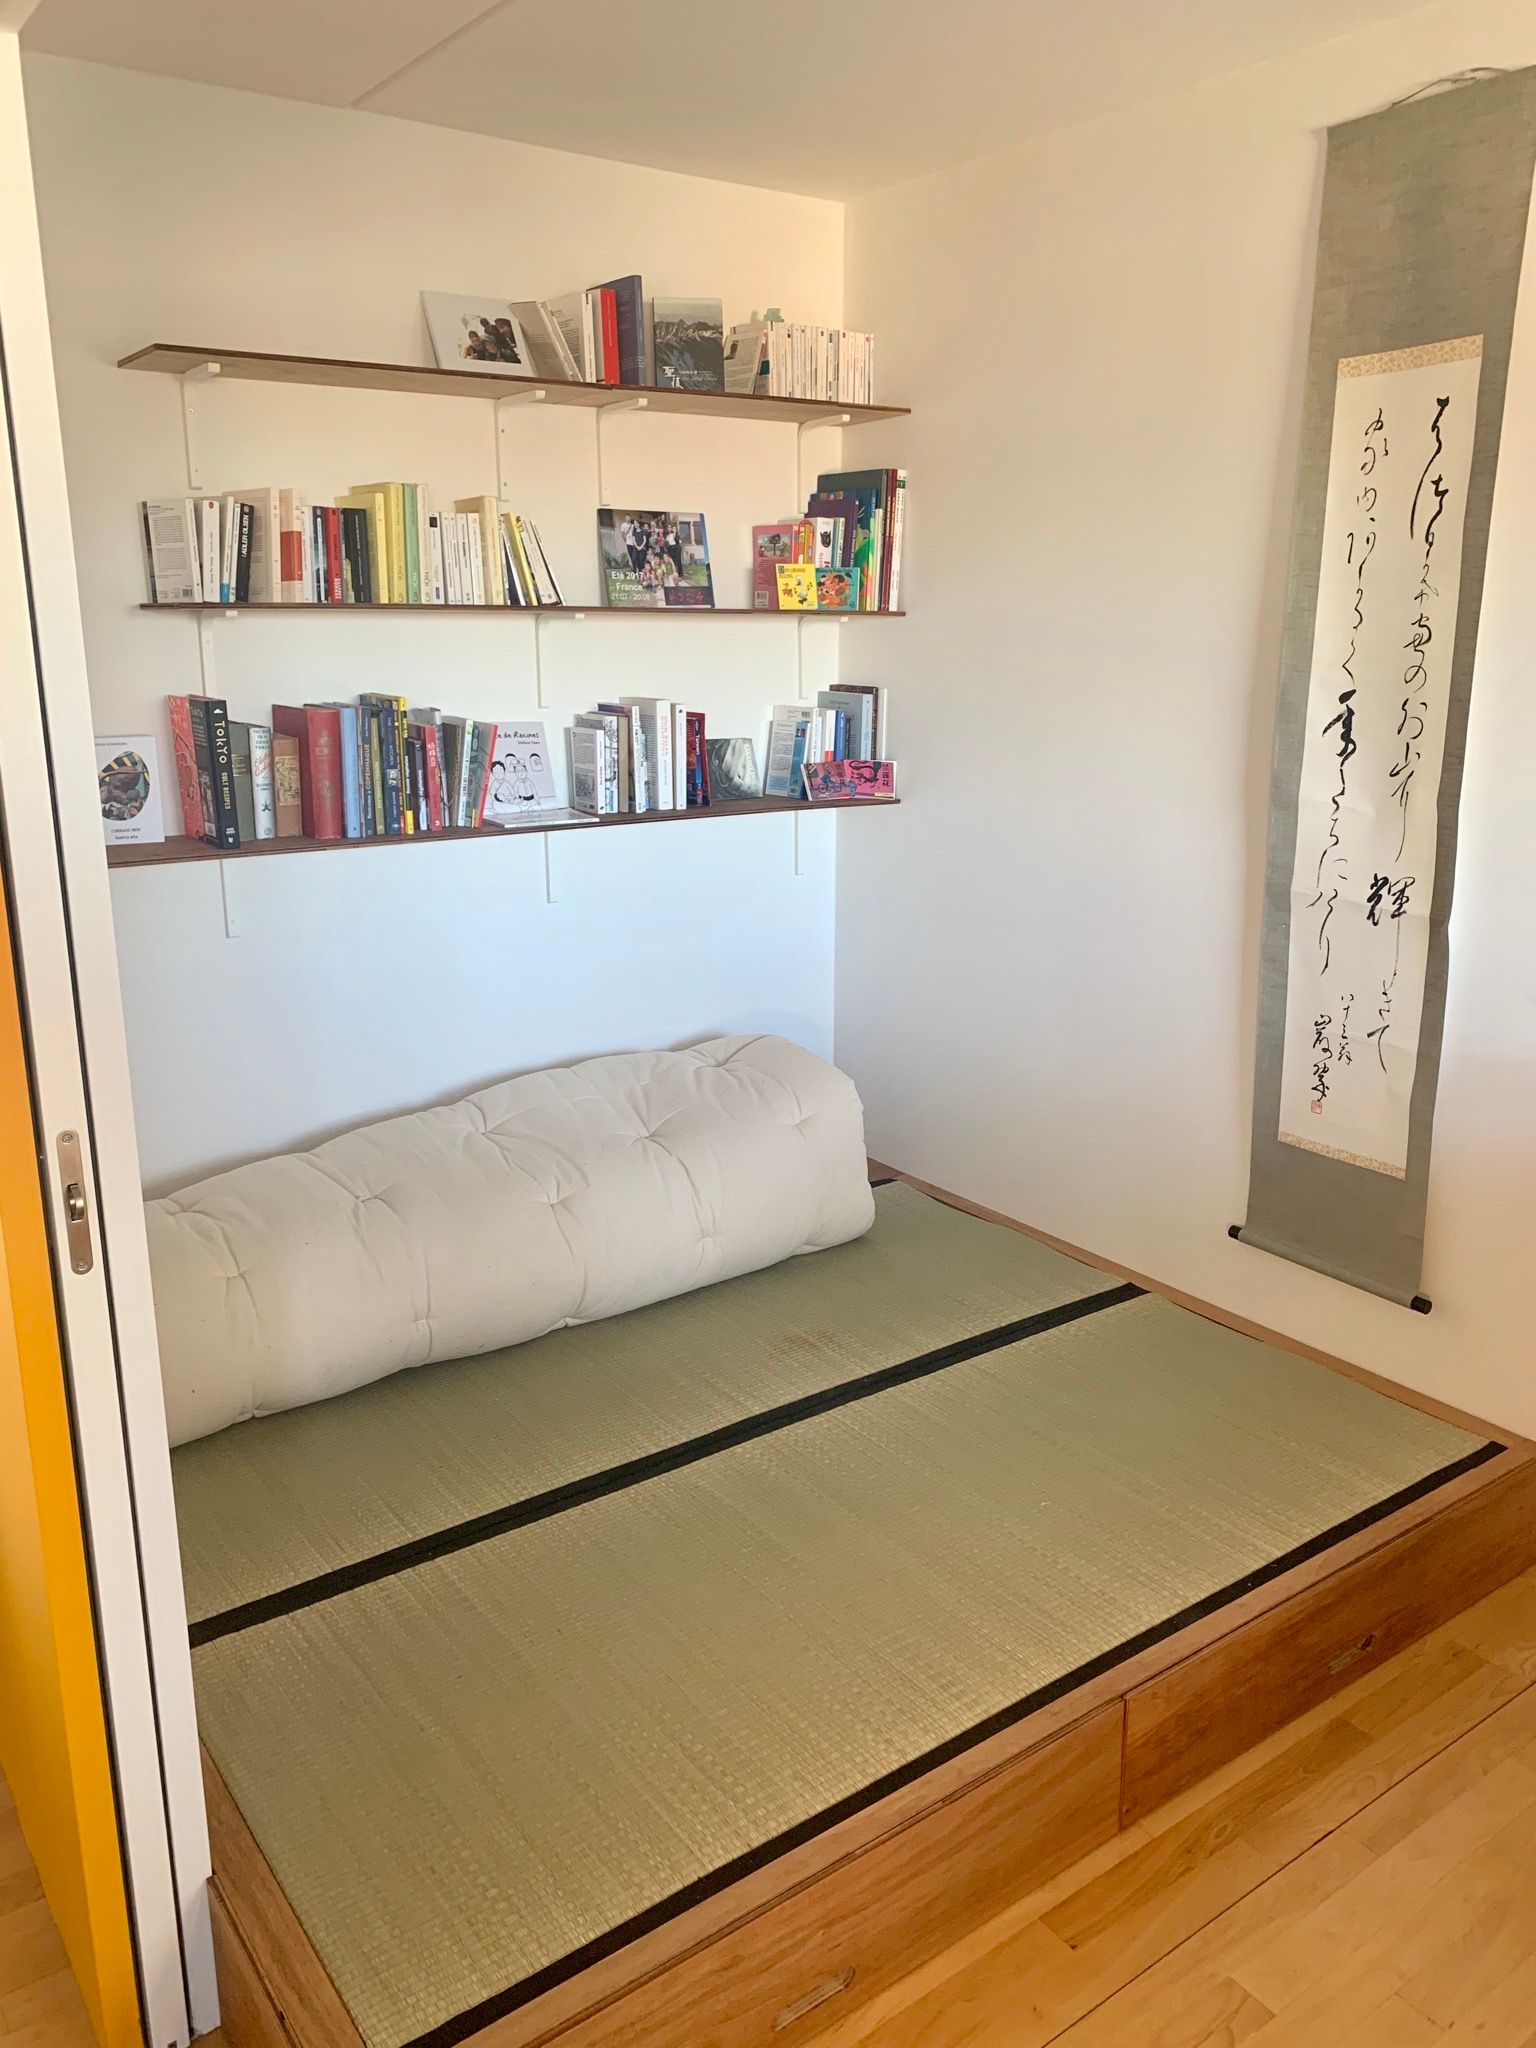
Final result
The final major touch consisted in using the remaining plywood to cut some shelves, that we put up using wood corners that we painted in white. Tadaaa.
Overall, the first time tacking such a complex construction project, and a very nice experience. Lots of learnings, and very happy with the results :)
Suppliers and budget
- Wood, screws, nuts: Bauhaus and Silvan (Valby)
- Flax oil: Føtex (Vesterbro)
- Tatami and futon: 7+7 Futon (Glostrup)
- Aluminium profiles: Jernpladsen (Søborg)
- Ball bearings: Smedebutikken.dk
- Electrical plug: AvXperten.dk
Total budget: ~4500kr. (600€) + tatami & futon
Total time spent: 9 full days