How to build a barrel raft? ⛵
We wanted to build our own raft to sail freely on the Copenhagen canal. Find out how we designed and built our barrel raft without cuttings nor sealants, and get inspired !
Introduction
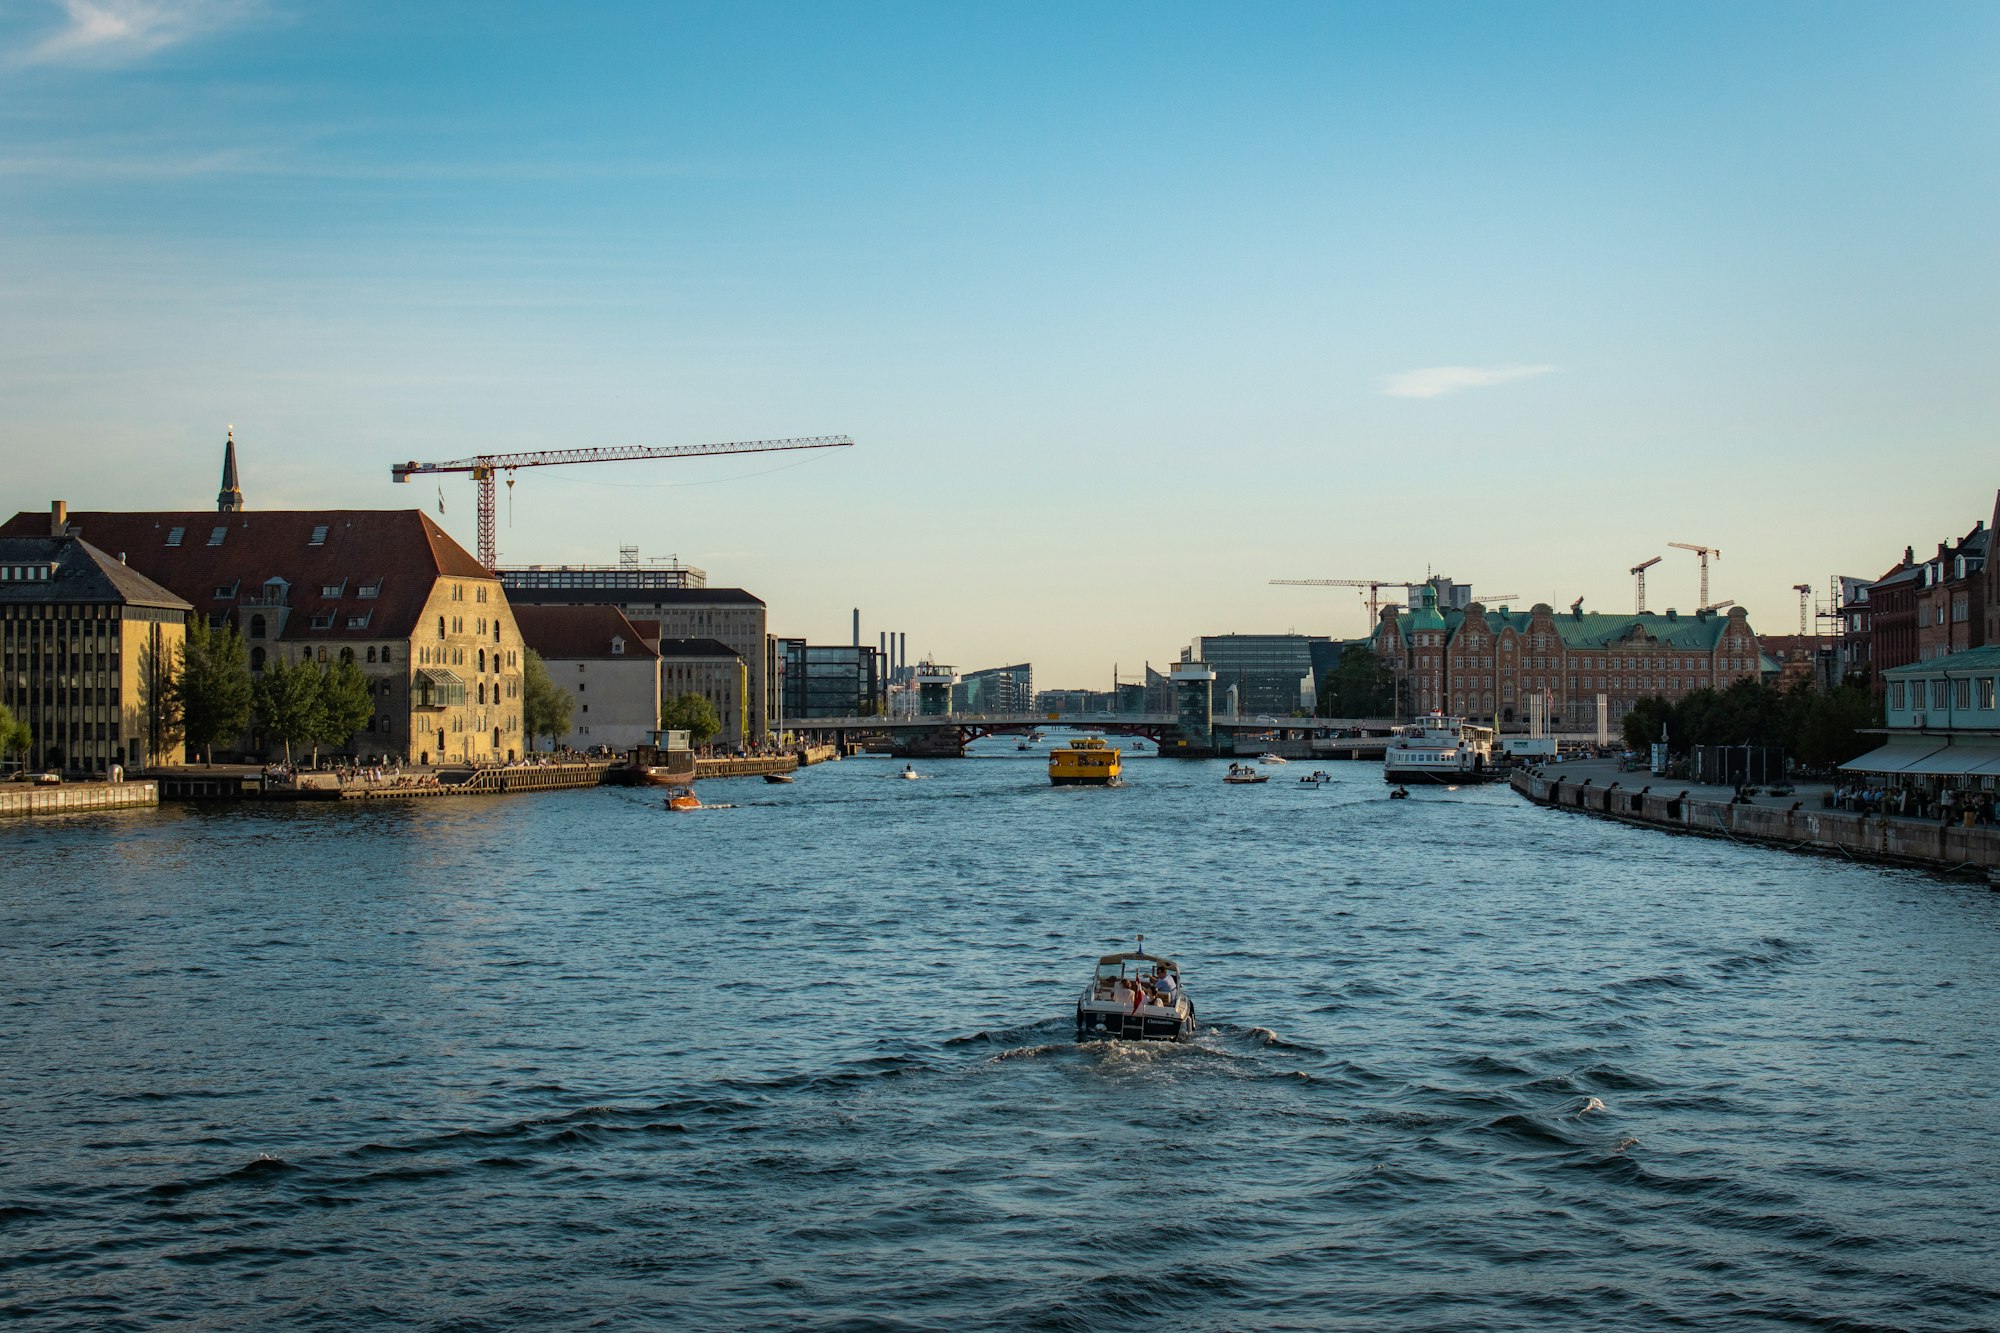
Copenhagen is at its best in summer. Days are very long and when it's sunny and warm, the quay sides are full of people (sun)bathing. The canal crossing the entire city is busier and sees a high traffic of boats. They are of different kinds, but it is striking to see in particular many handmade rafts, going on slow and relaxed rides during sunny days, and parked at random places when not at sea. That picked our curiosity. If many people have been able to build one before, we thought: "let's build our own!"
This article describes how we designed and built our battery-powered raft without cutting or sealing anything, just driving in a lot of screws.
General design
We didn't reinvent the wheel, and in fact got inspired by several webpages of folks telling their story of how they built one. See for instance this guide from Floating Rafts with a design which looks very much like the one we made, and this multi-chapter guide from the Barrel Raft Boys who also put some add-ons like a shelter. There are many funky examples on the internet.
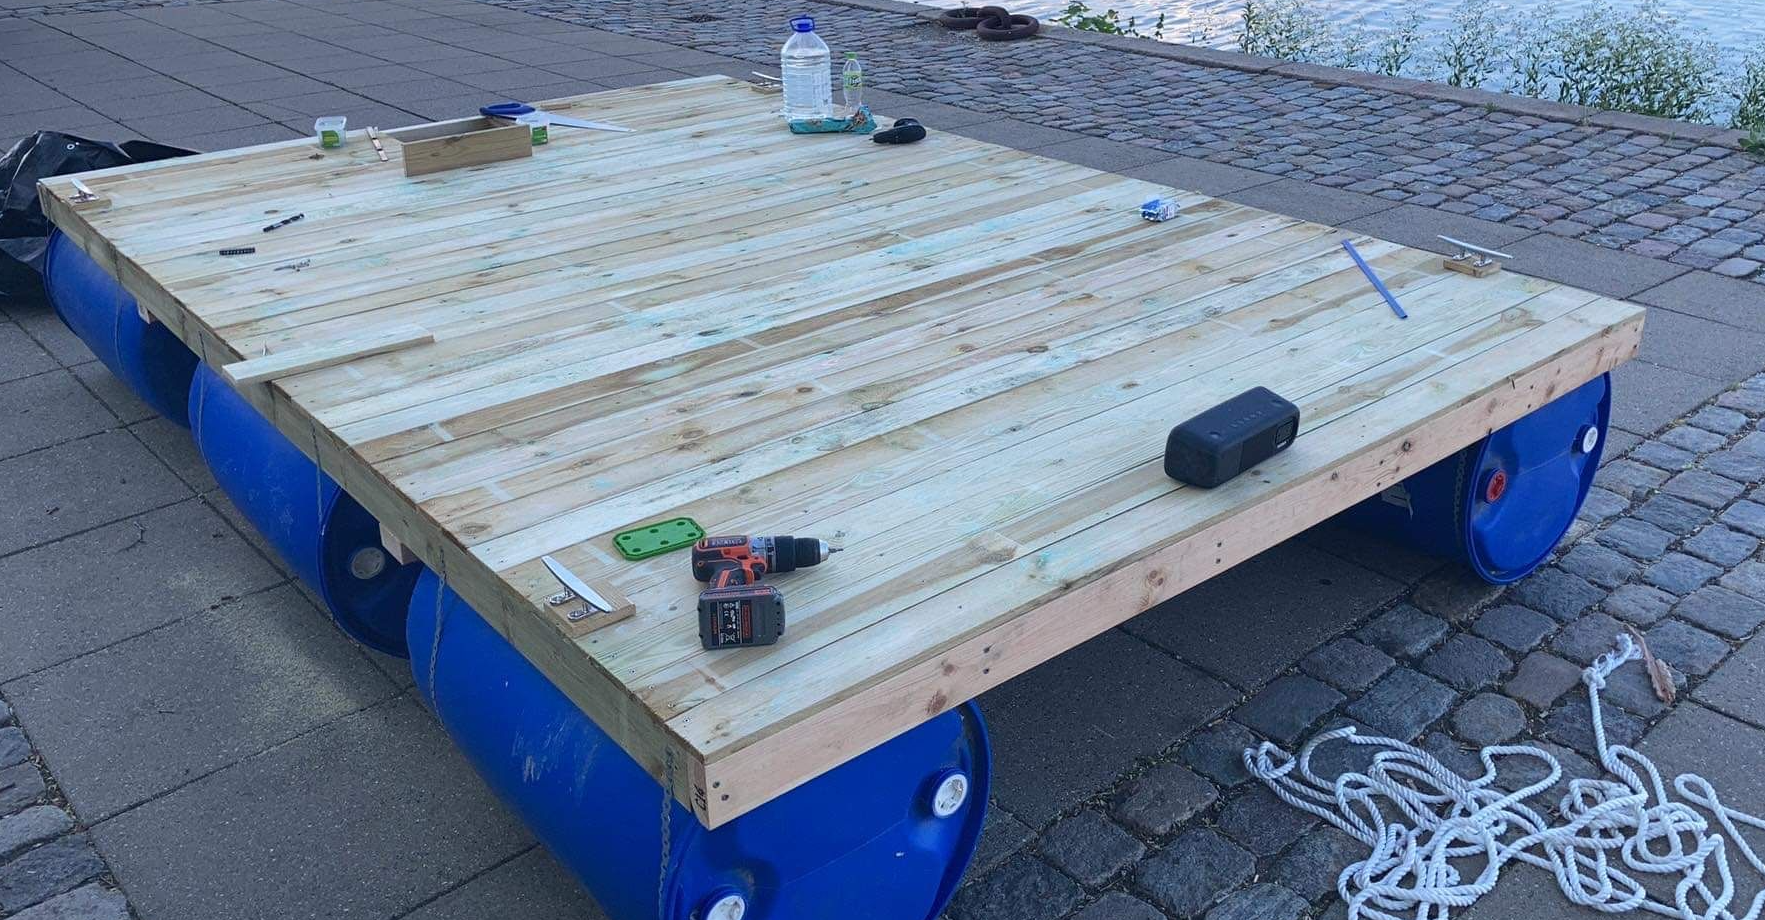
Our approach was to go for the basics: a wooden deck fixed onto plastic barrels ensuring floatability. See picture below for the end result modelled with SketchUp.
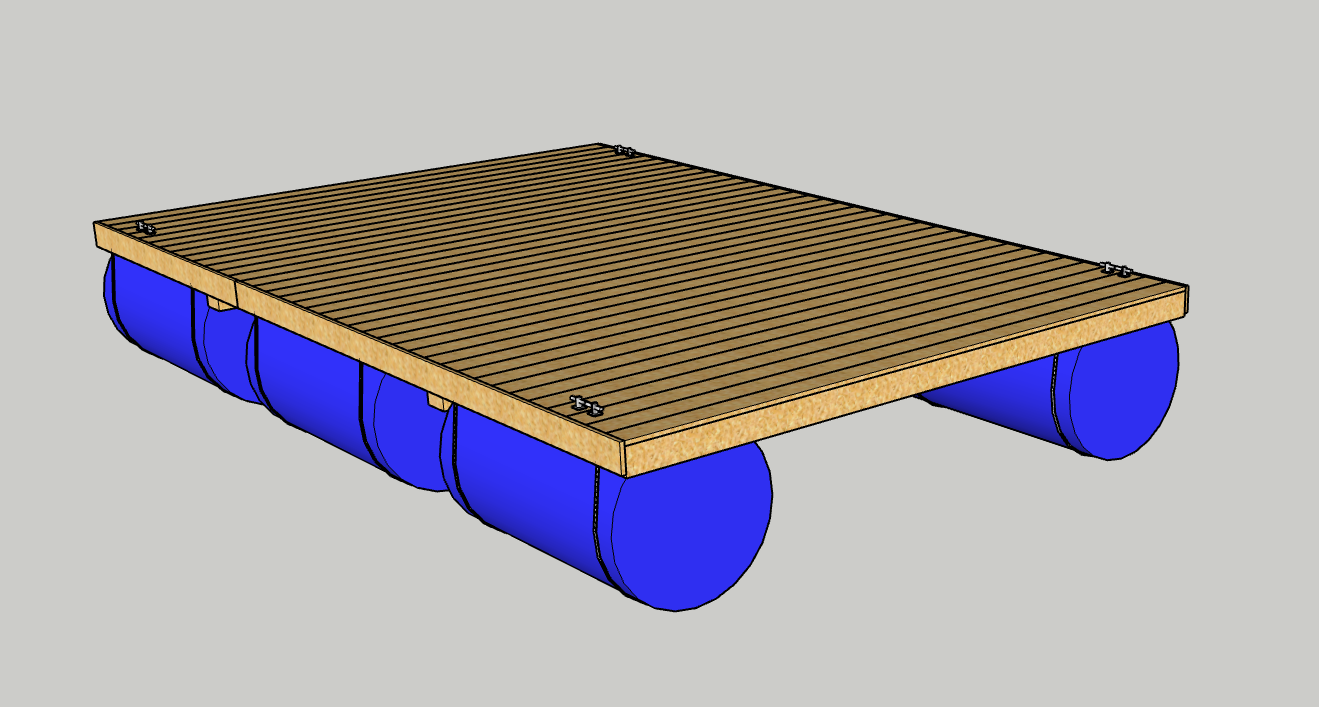
Below is an interactive 3D model view of the same. Try to pinch / pan / scoll :) As I only used the free version of SketchUp, the exported model is not as rich as the one in the app.
Quick calculations
As Engineer in Chief on this project, I became responsible for quantifying our needs. As reminded on Wikipedia:
Archimedes' principle [...] states that the upward buoyant force that is exerted on a body immersed in a fluid, whether fully or partially, is equal to the weight of the fluid that the body displaces
Let's see what we have:
- Although plastic barrels like this are available in multiple formats, the biggest that we though to be most suitable for building raft have between 200 and 220L of capacity. Let's say 200L net.
- An average person's loaded mass is about $100kg/pers$ (body + clothes + bag etc)
- The raft's self weight (wood, batteries, motor) is about 300kg
- The density of seawater to $\rho=1000kg/m^3=1kg/L$
Newton's law therefore gives the following relationship between the number of barrels needed and the number of people on board:
$$200\cdot n_{barrel}=100 \cdot n_{ppl}+300+margin$$
With 6 barrels, we get 1200kg of buoyant force, which can counter up to 8 people on board with a margin of 100kg (let's keep some draft and not have our raft fully submerged 😅)
Material and equipment
Preamble
Before going any further, an important learning from our experience was that building this type of raft and equipping it from scratch ... is expensive ! Of course, the ideal would be to reuse stuff: like a small diesel motor lying in your garage, wood planks from an old living room floor that you recently renovated, etc. If you can, do it! It was not our case and we had to every bits and pieces of it. The following sections detail each cost category.
Propulsion
We decided to buy an Electric motor💡to avoid the noise and $CO_2$ emissions from Diesel motors. But there were quite a few discussions around it in the planning phase.
What we were used to using were the high-end Torqueedo motors that equip all the Goboat's. Their competitor Friendships.dk probably have similar ones, inboard. But they cost a fortune: 6HP Cruise motor (4470€), 24V-3679Wh Li-ion battery pack (3599€) and 350W charger (419€) sum up to 8488€ !
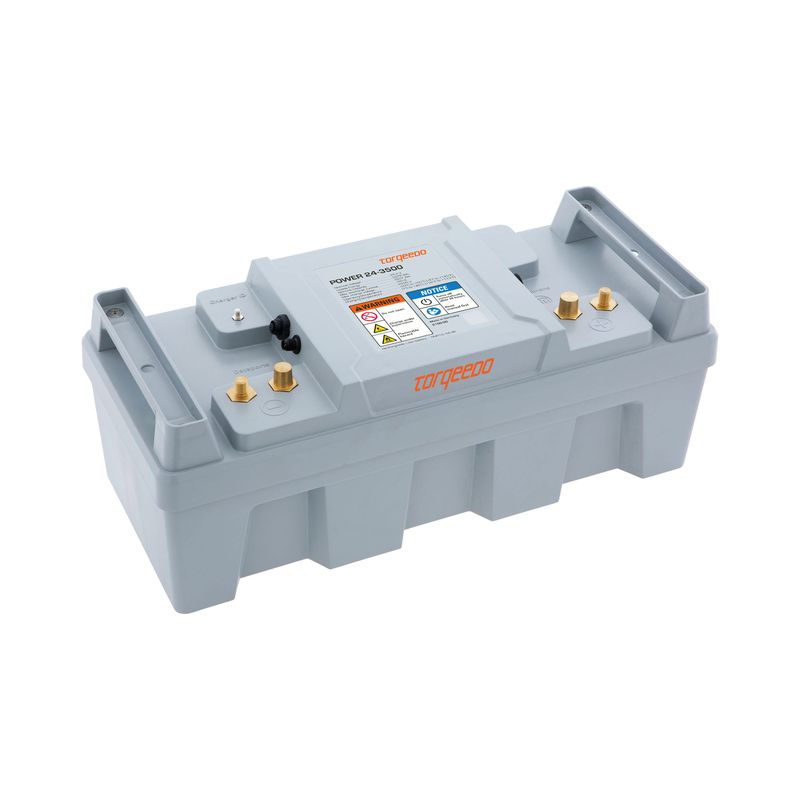
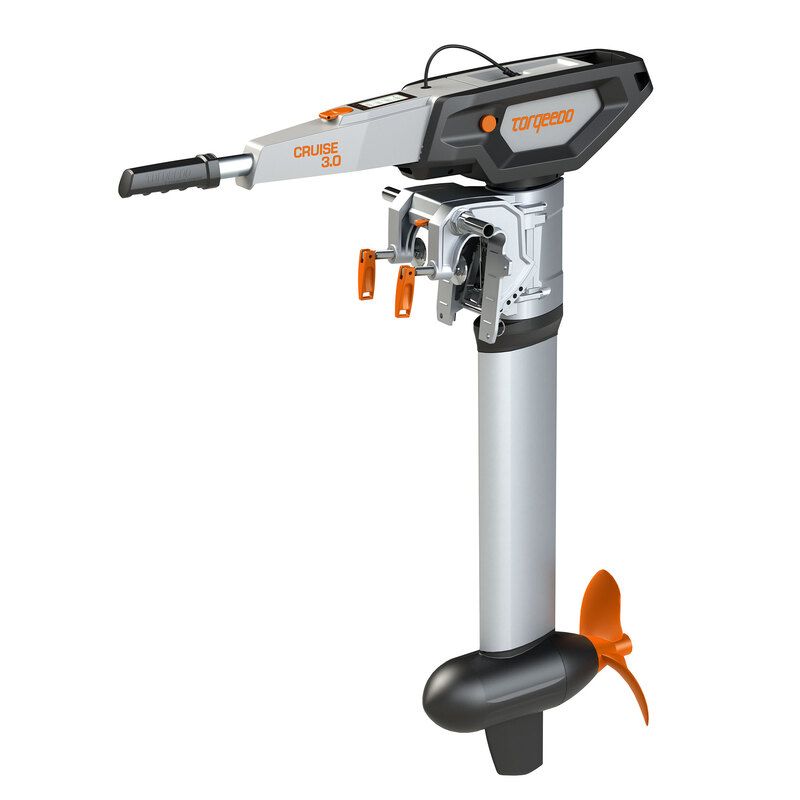
Power 24-3500 battery pack (left) and Cruise 6.0T (right) from Torqueedo. Great ! But expensive (credits: Torqueedo)
We went for cheaper, with a roughly 400€ motor (I do not recall the exact model at time of writing, but it's like this one – 1/3th of the thrust for 10% of the price), an equally expensive set of 2 of these 12V/115Ah lead-acid batteries (motors run at 24V so 2 batteries in series are required – that's 2760Wh or 3/4th of the torqueedo's capacity for double the weight but for 10% of the price) and a more affordable battery charger. Which makes a total of roughly 900€
A diesel motor could certainly have enabled us to ride for longer trips but on top of the arguments mentioned earlier, they are heavier and not more affordable when new (catalogue price 1000€ [2.5hp] to 1900€ [6hp] for Suzuki Marine motors for instance).
We are proud and happy of riding the way we chose 😊
Table 1: Recap of the differences between electric and diesel
| Parameter | Electric | Diesel |
|---|---|---|
| Cost of equipment | ~900€ | 1000-1800€ |
| Cost of fuel | € | €€ |
| Motor weight | 12kg | 24kg |
| Weight of fuel | 54kg | <20kg |
| Autonomy | 5km / 2h (comfortable) | Much more |
Buoyancy
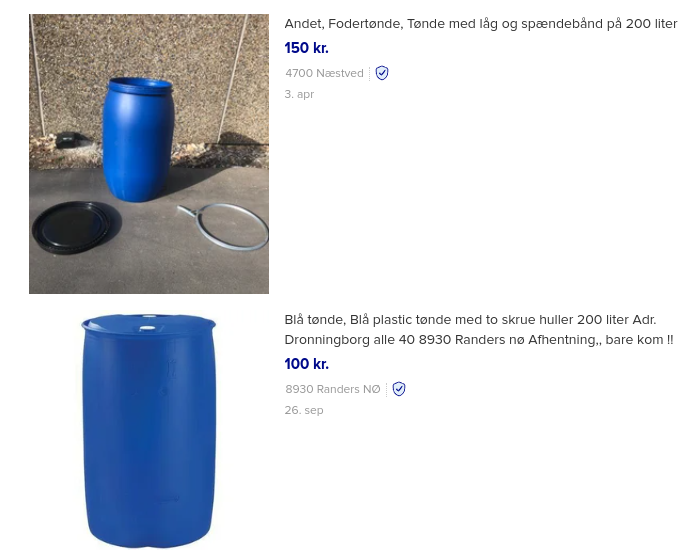
200L plastic drums are used by a variety of individuals and on many work sites, to store rain water, oil or any other fluid. Once used, they become available on places like DBA in Denmark: unless you have a good contact, it really depends on where they are available when you're looking for them, and at what price. Typically sold 150kr / 20€ each. That's 120€ for 6.
On the example above, we have preferred to use those with the two small plastic screw caps rather than those with the big black lid and metal strapping. This was where our intuition led us; our decision was not based on any knowledge of the pros and cons of the two variants. Also worth mentioning, is that we just made sure the caps were tightly screwed in, and didn't use silicon or any other sealant. And we can confirm that the raft is still floating after months :)
Wooden structure
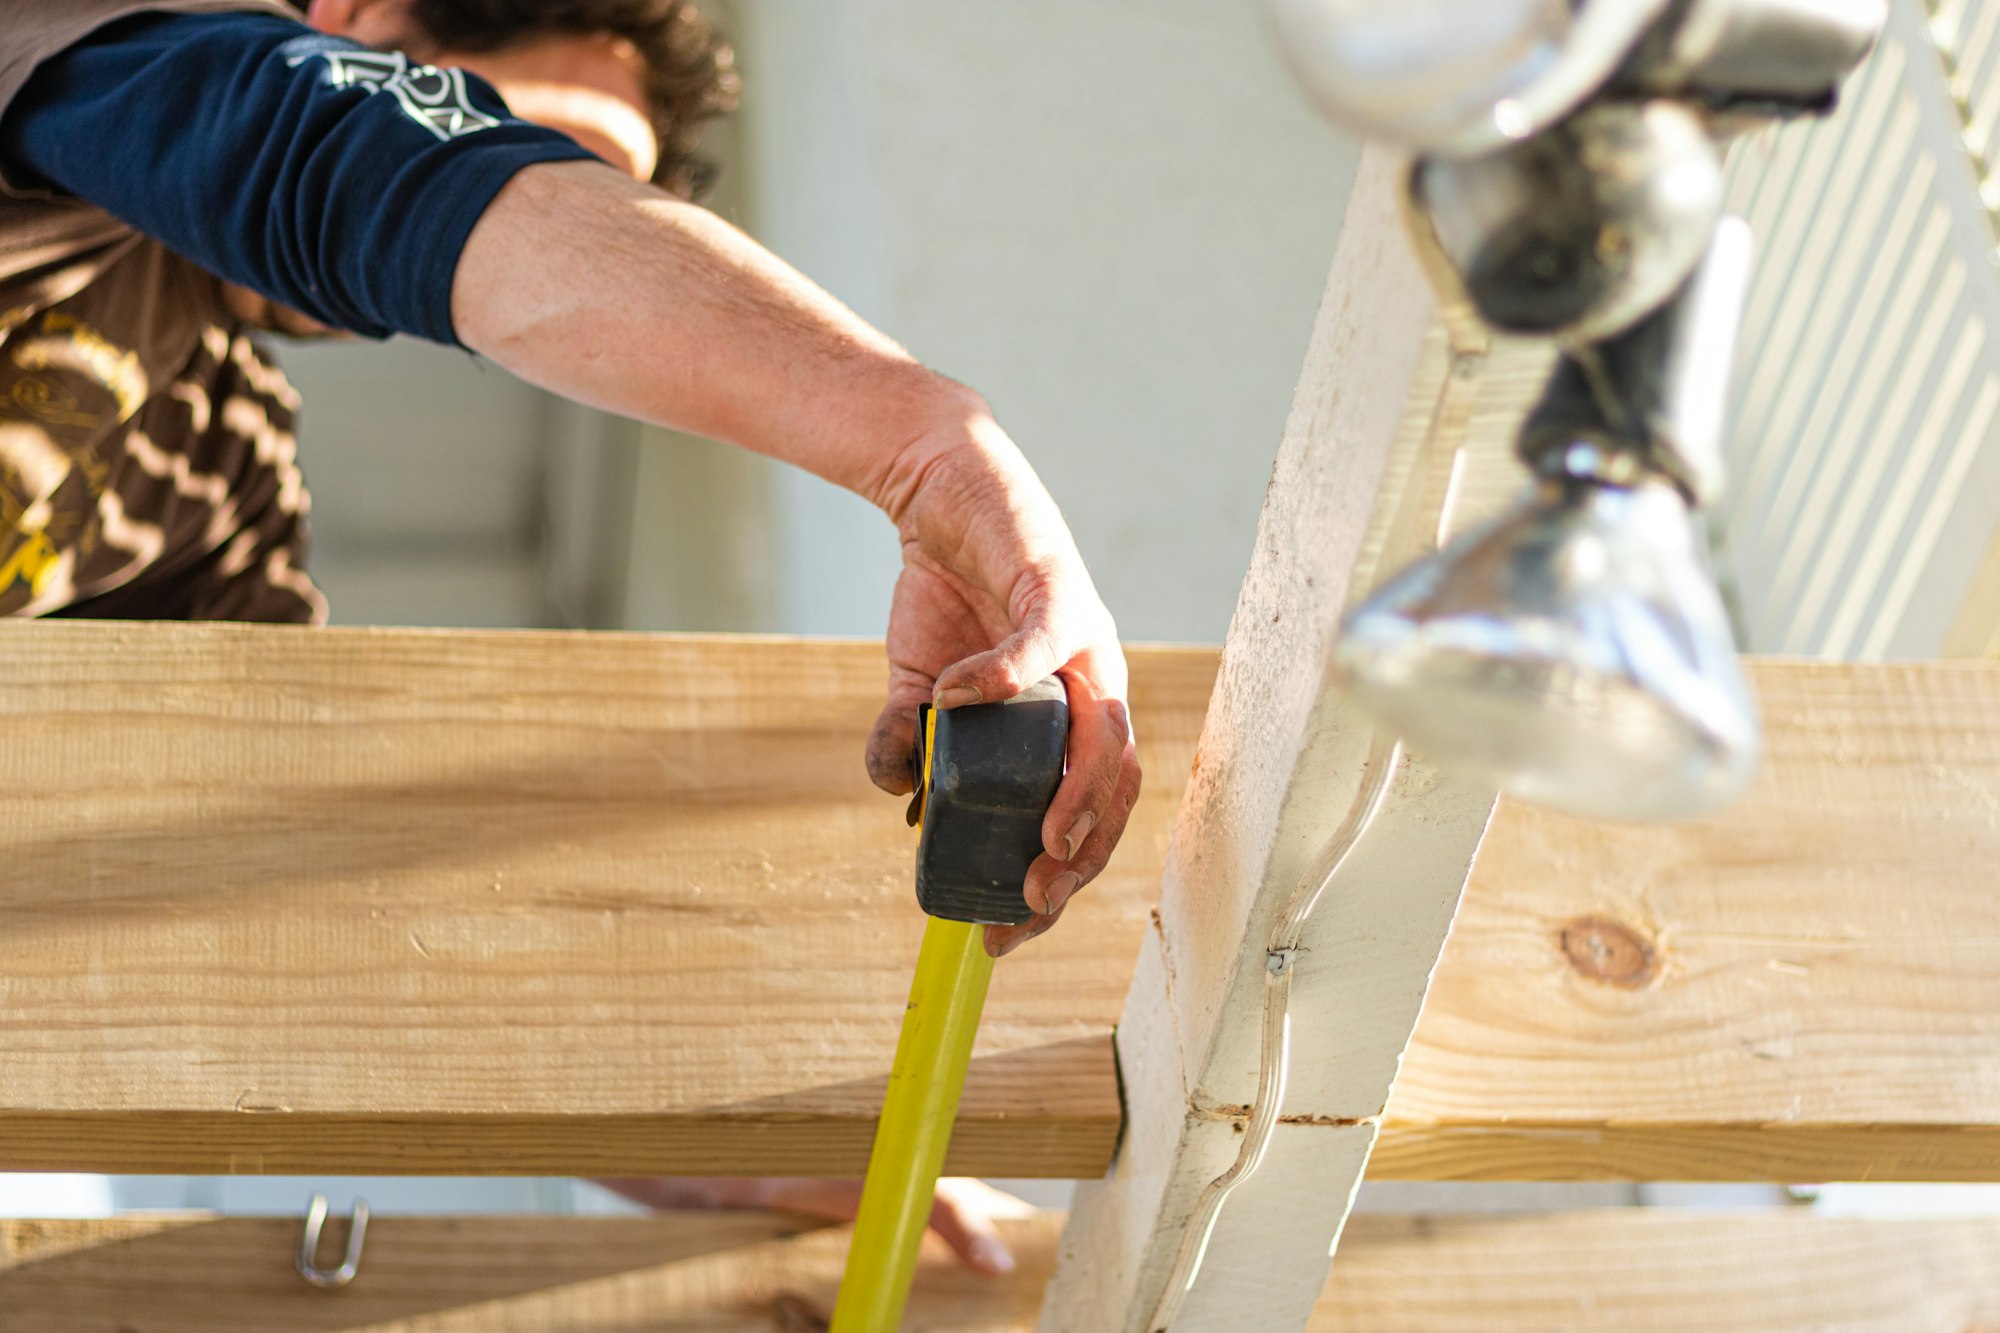
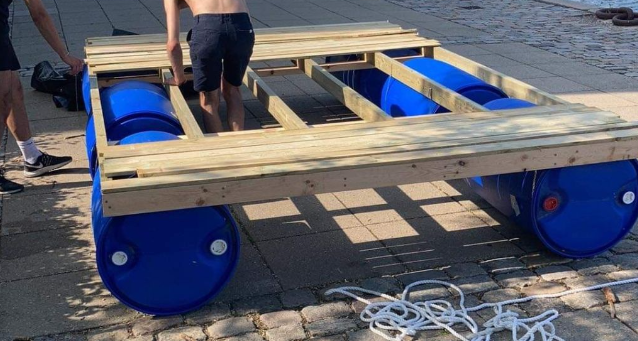
The beauty with the design we went with, is that we only used standard profiles, like 2x4" beams aka two-by-four's for the load bearing parts, and standard length planks, and didn't have to cut anything at all. Only to assemble with a lot of screws.
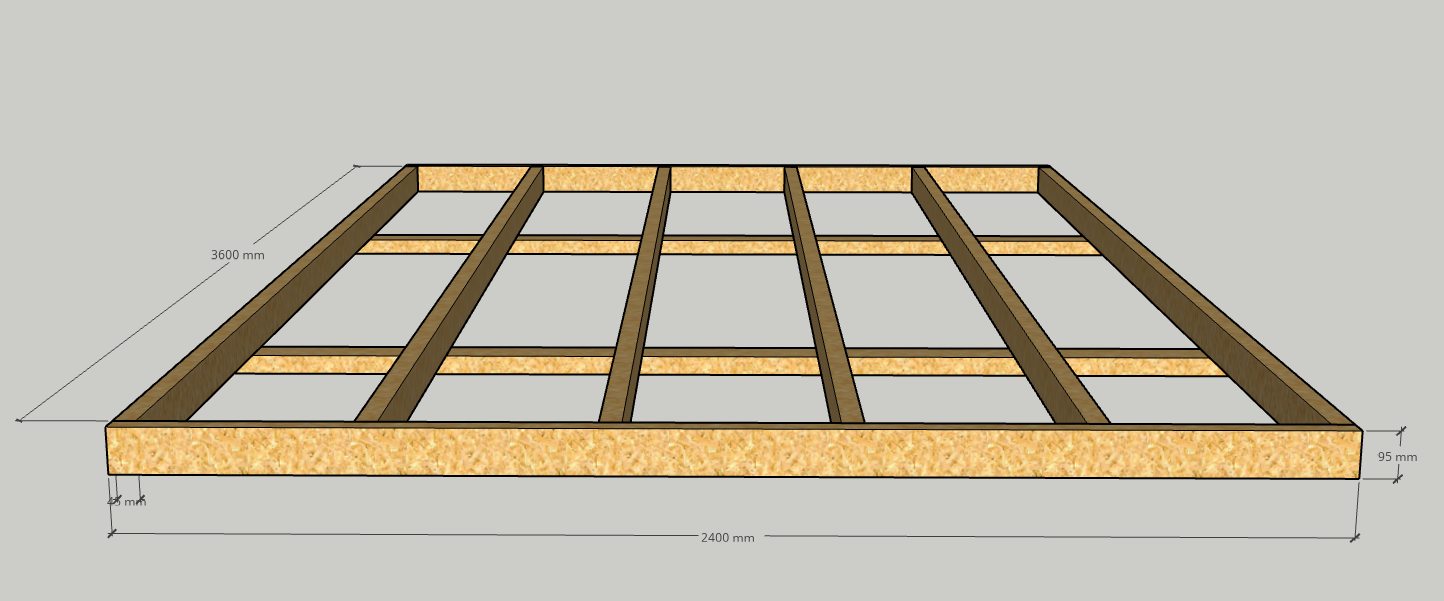
2x4's are roughly 45mm x 95mm in Europe and are available in different lengths: we chose to dimension our raft by 3.6m in length in order to comfortably fit 3 barrels and intermediate beams (horizontal on the picture above) and 2.4m in width to have sufficient deck space.
Fun fact: it also works with 3.0m-long boards instead of 3.6m. It fits to the mm.
For the deck, 10cm-wide boards were used. We chose some impregnated ones as the raft was to stay outdoor, despite the suspiciously green powder like substance that results from the impregnation process. 360 / 10 => 36 of them.
Miscelaneous material
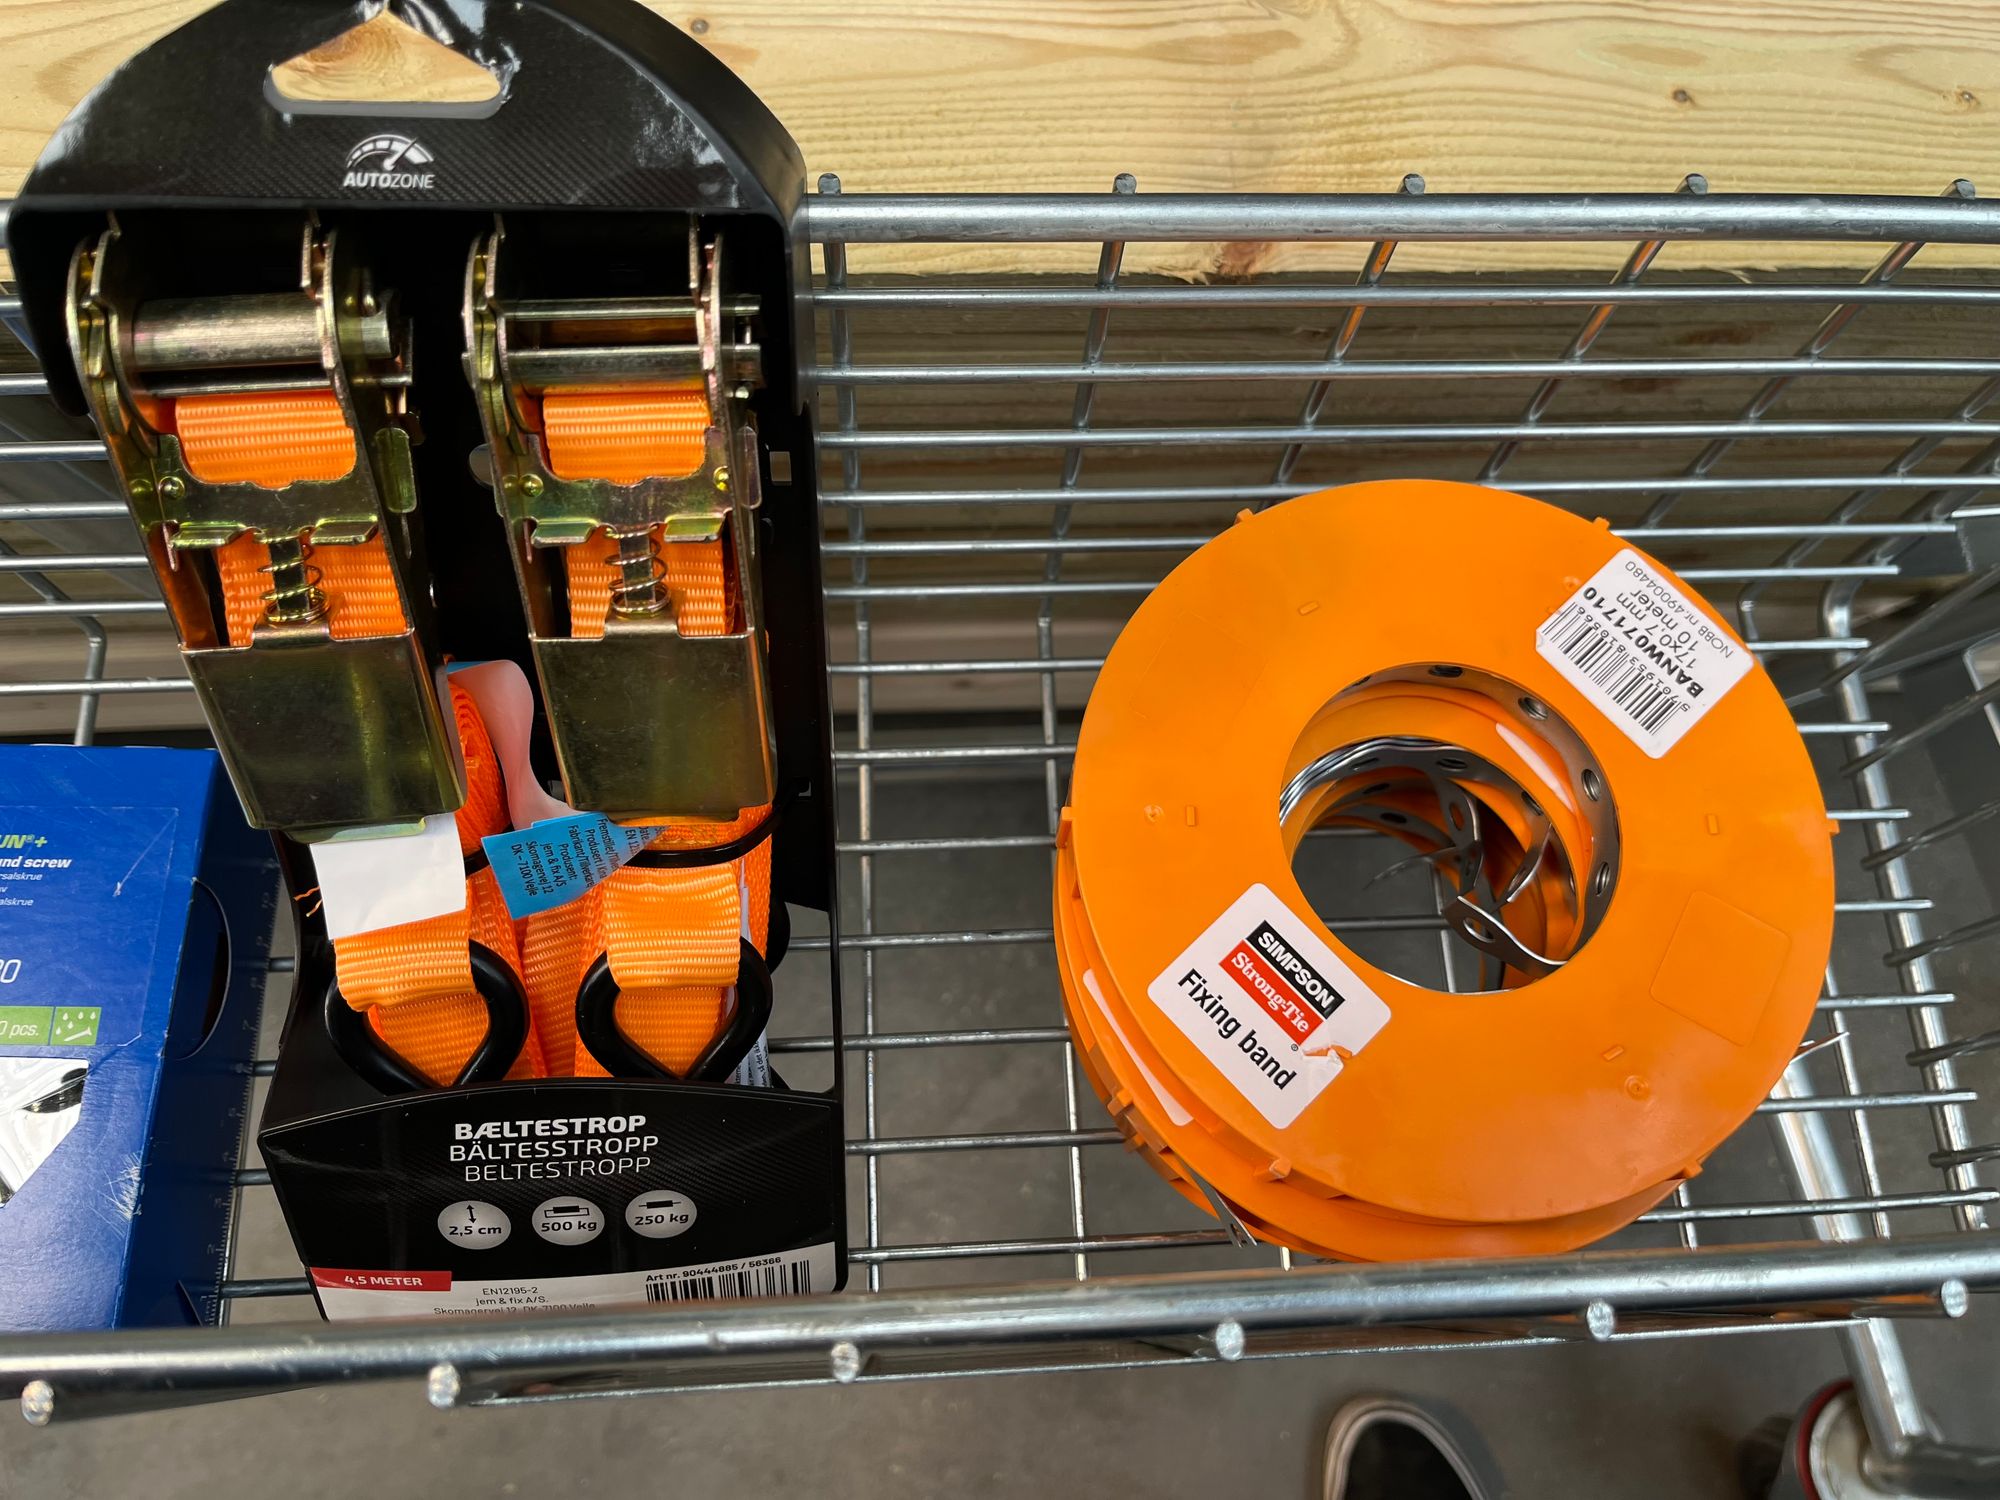
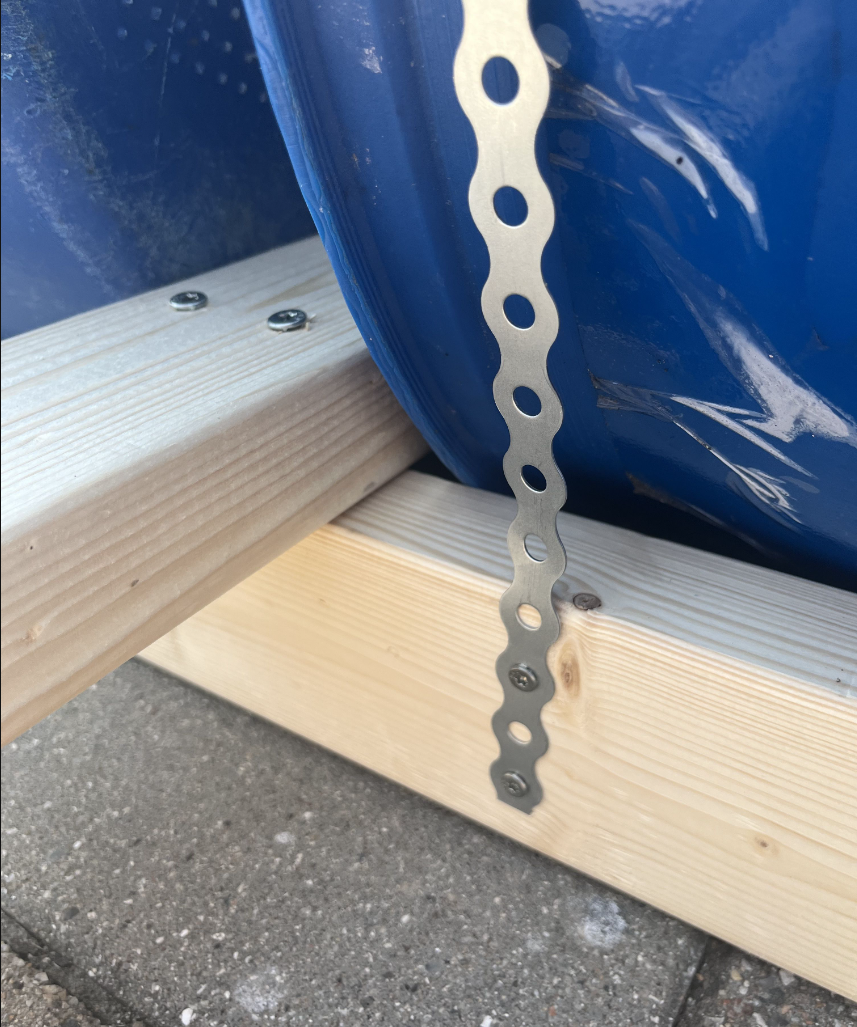
- Fixing the barrels below the structure was ensured thanks to rolls of perforated band. 2 rolls of 10 meters were enough.
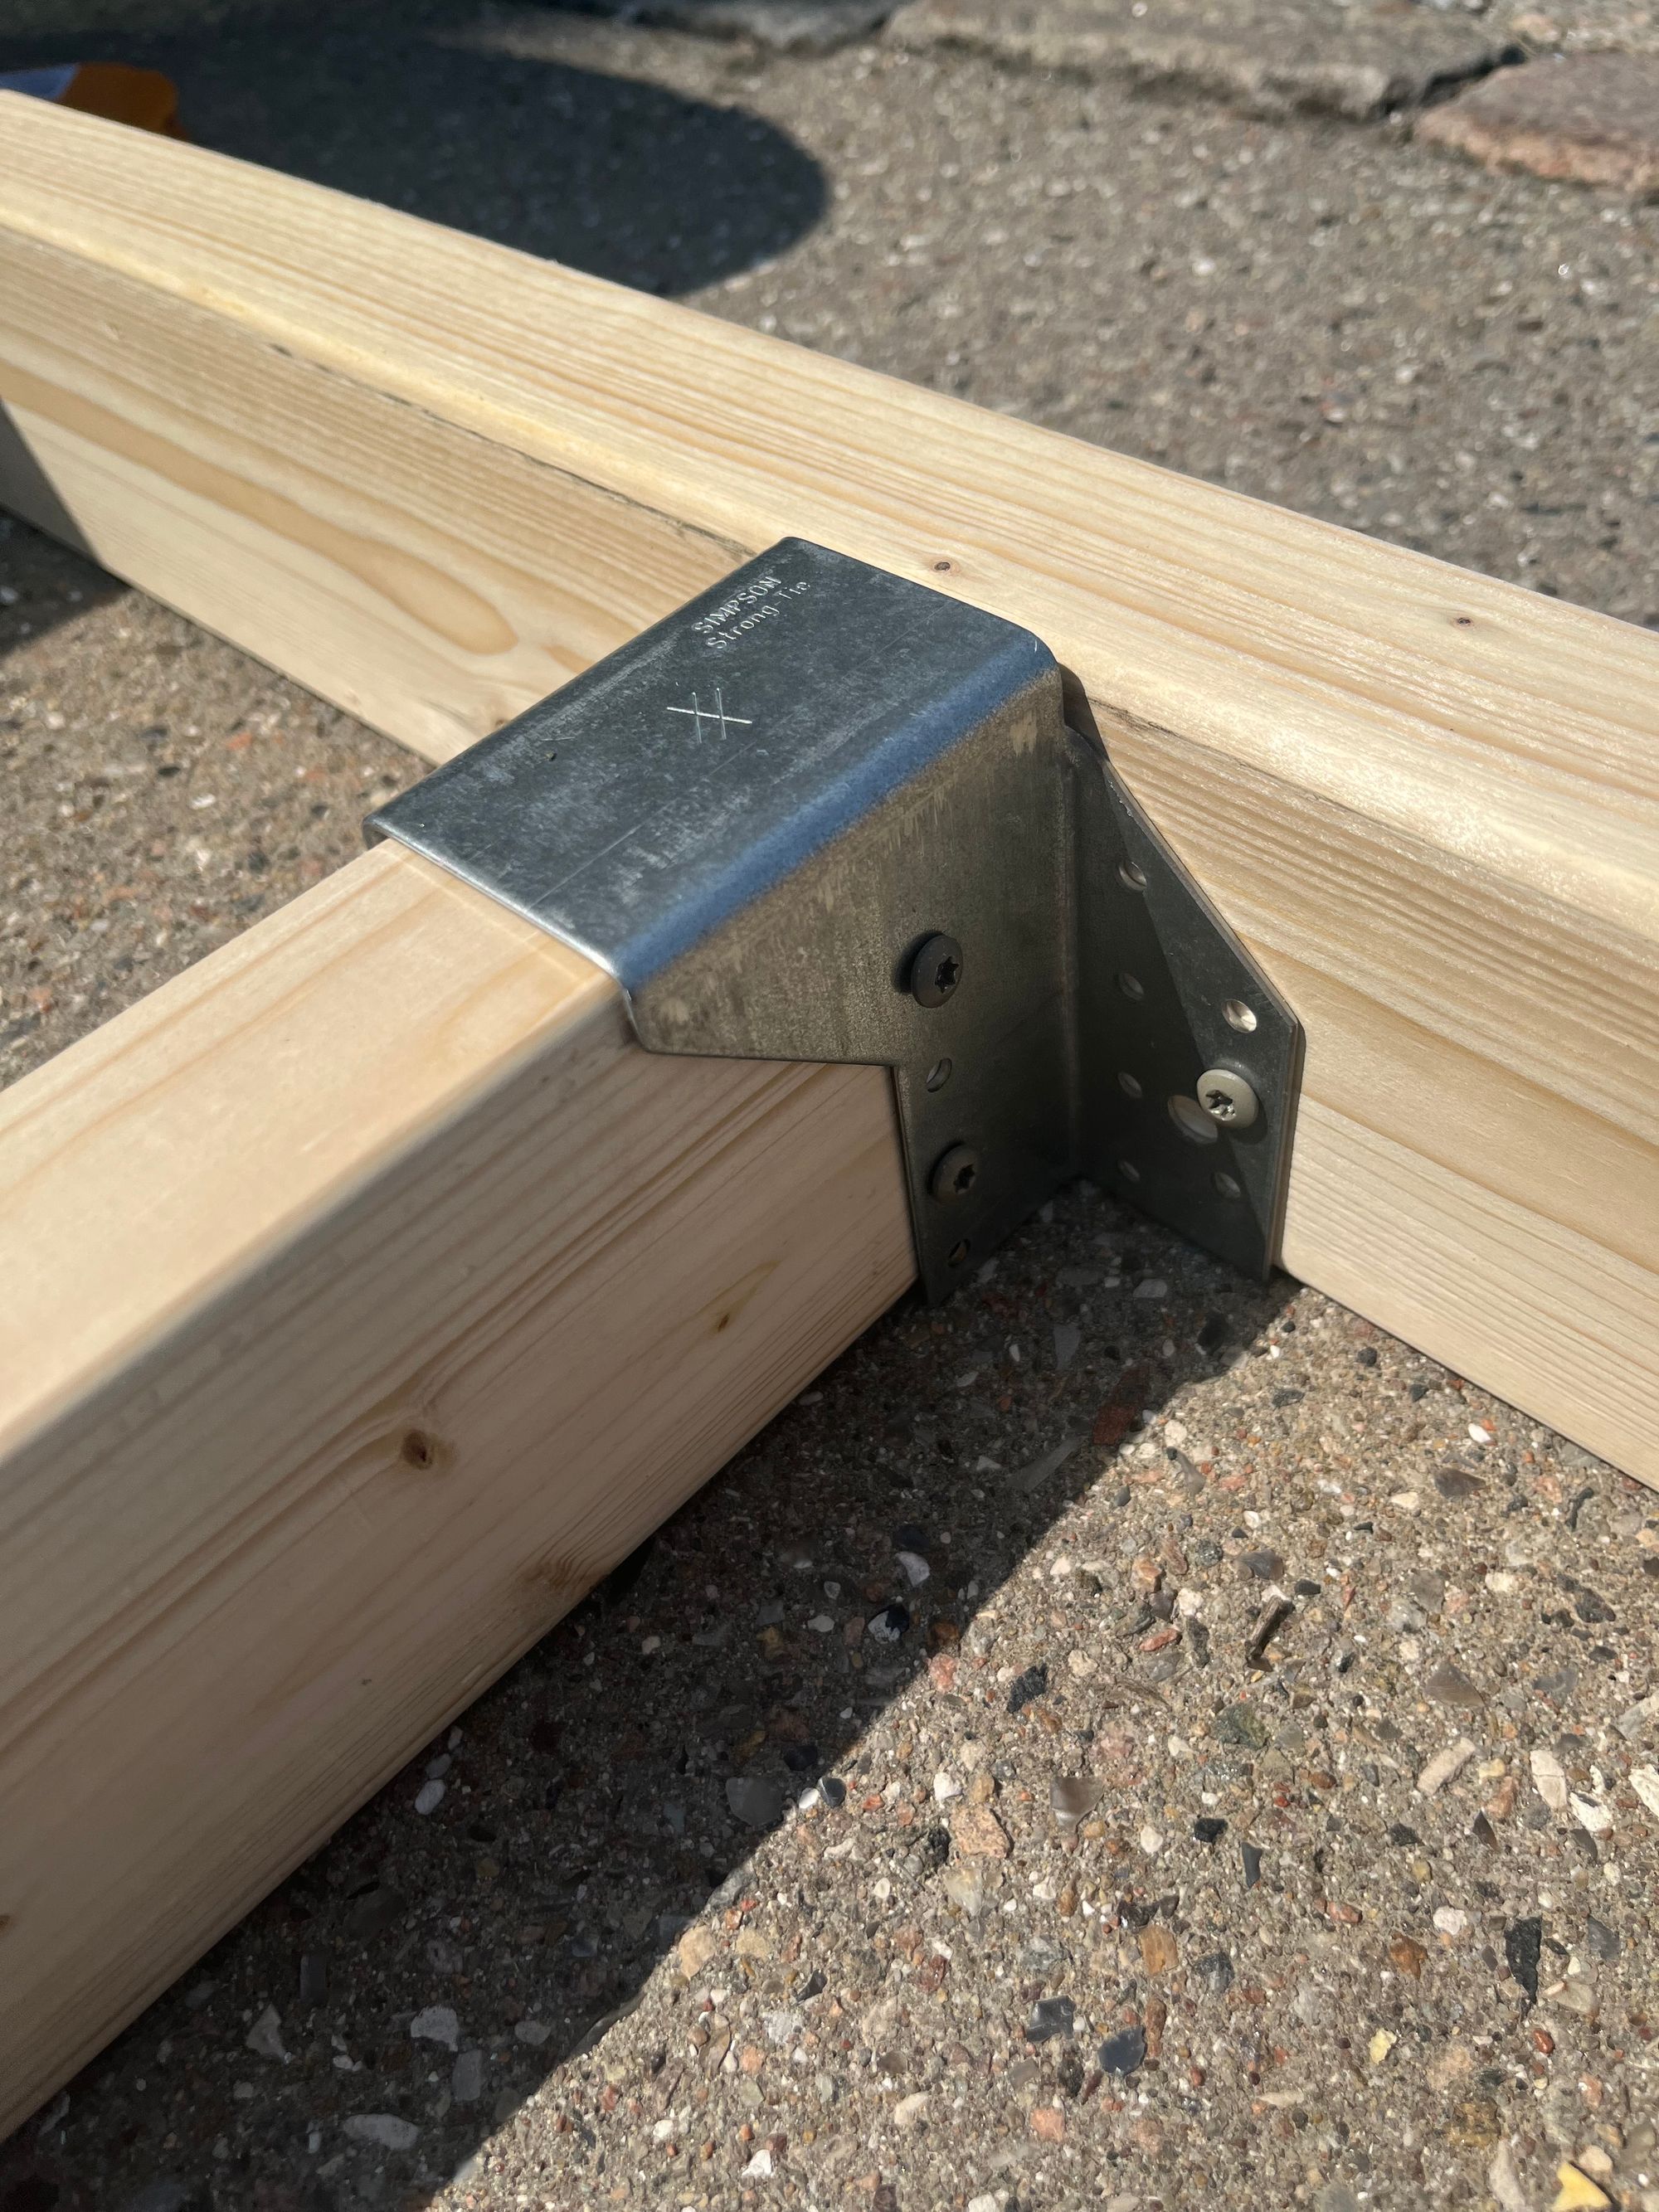
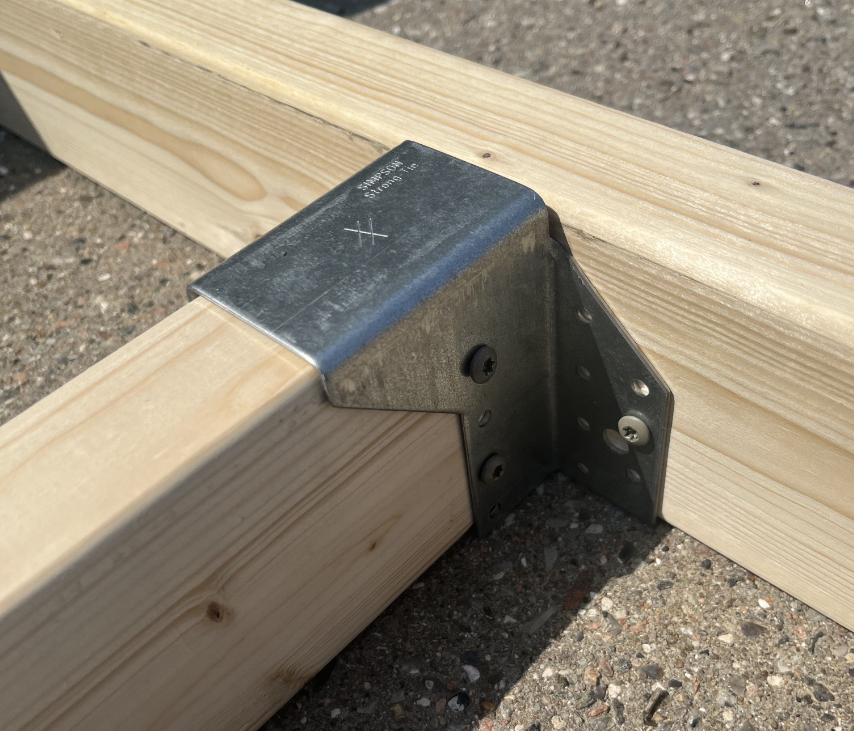
- (optional?) We bought and installed some angle brackets and beam shoes, not being sure of the stiffness of the structure. But we didn't put much and not sure how essential they were. They also cost quite a bit by the number.
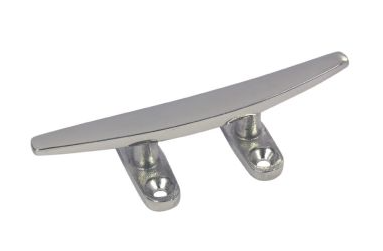
- 4 cleats (1 per angle) and a couple of ropes, for mooring.
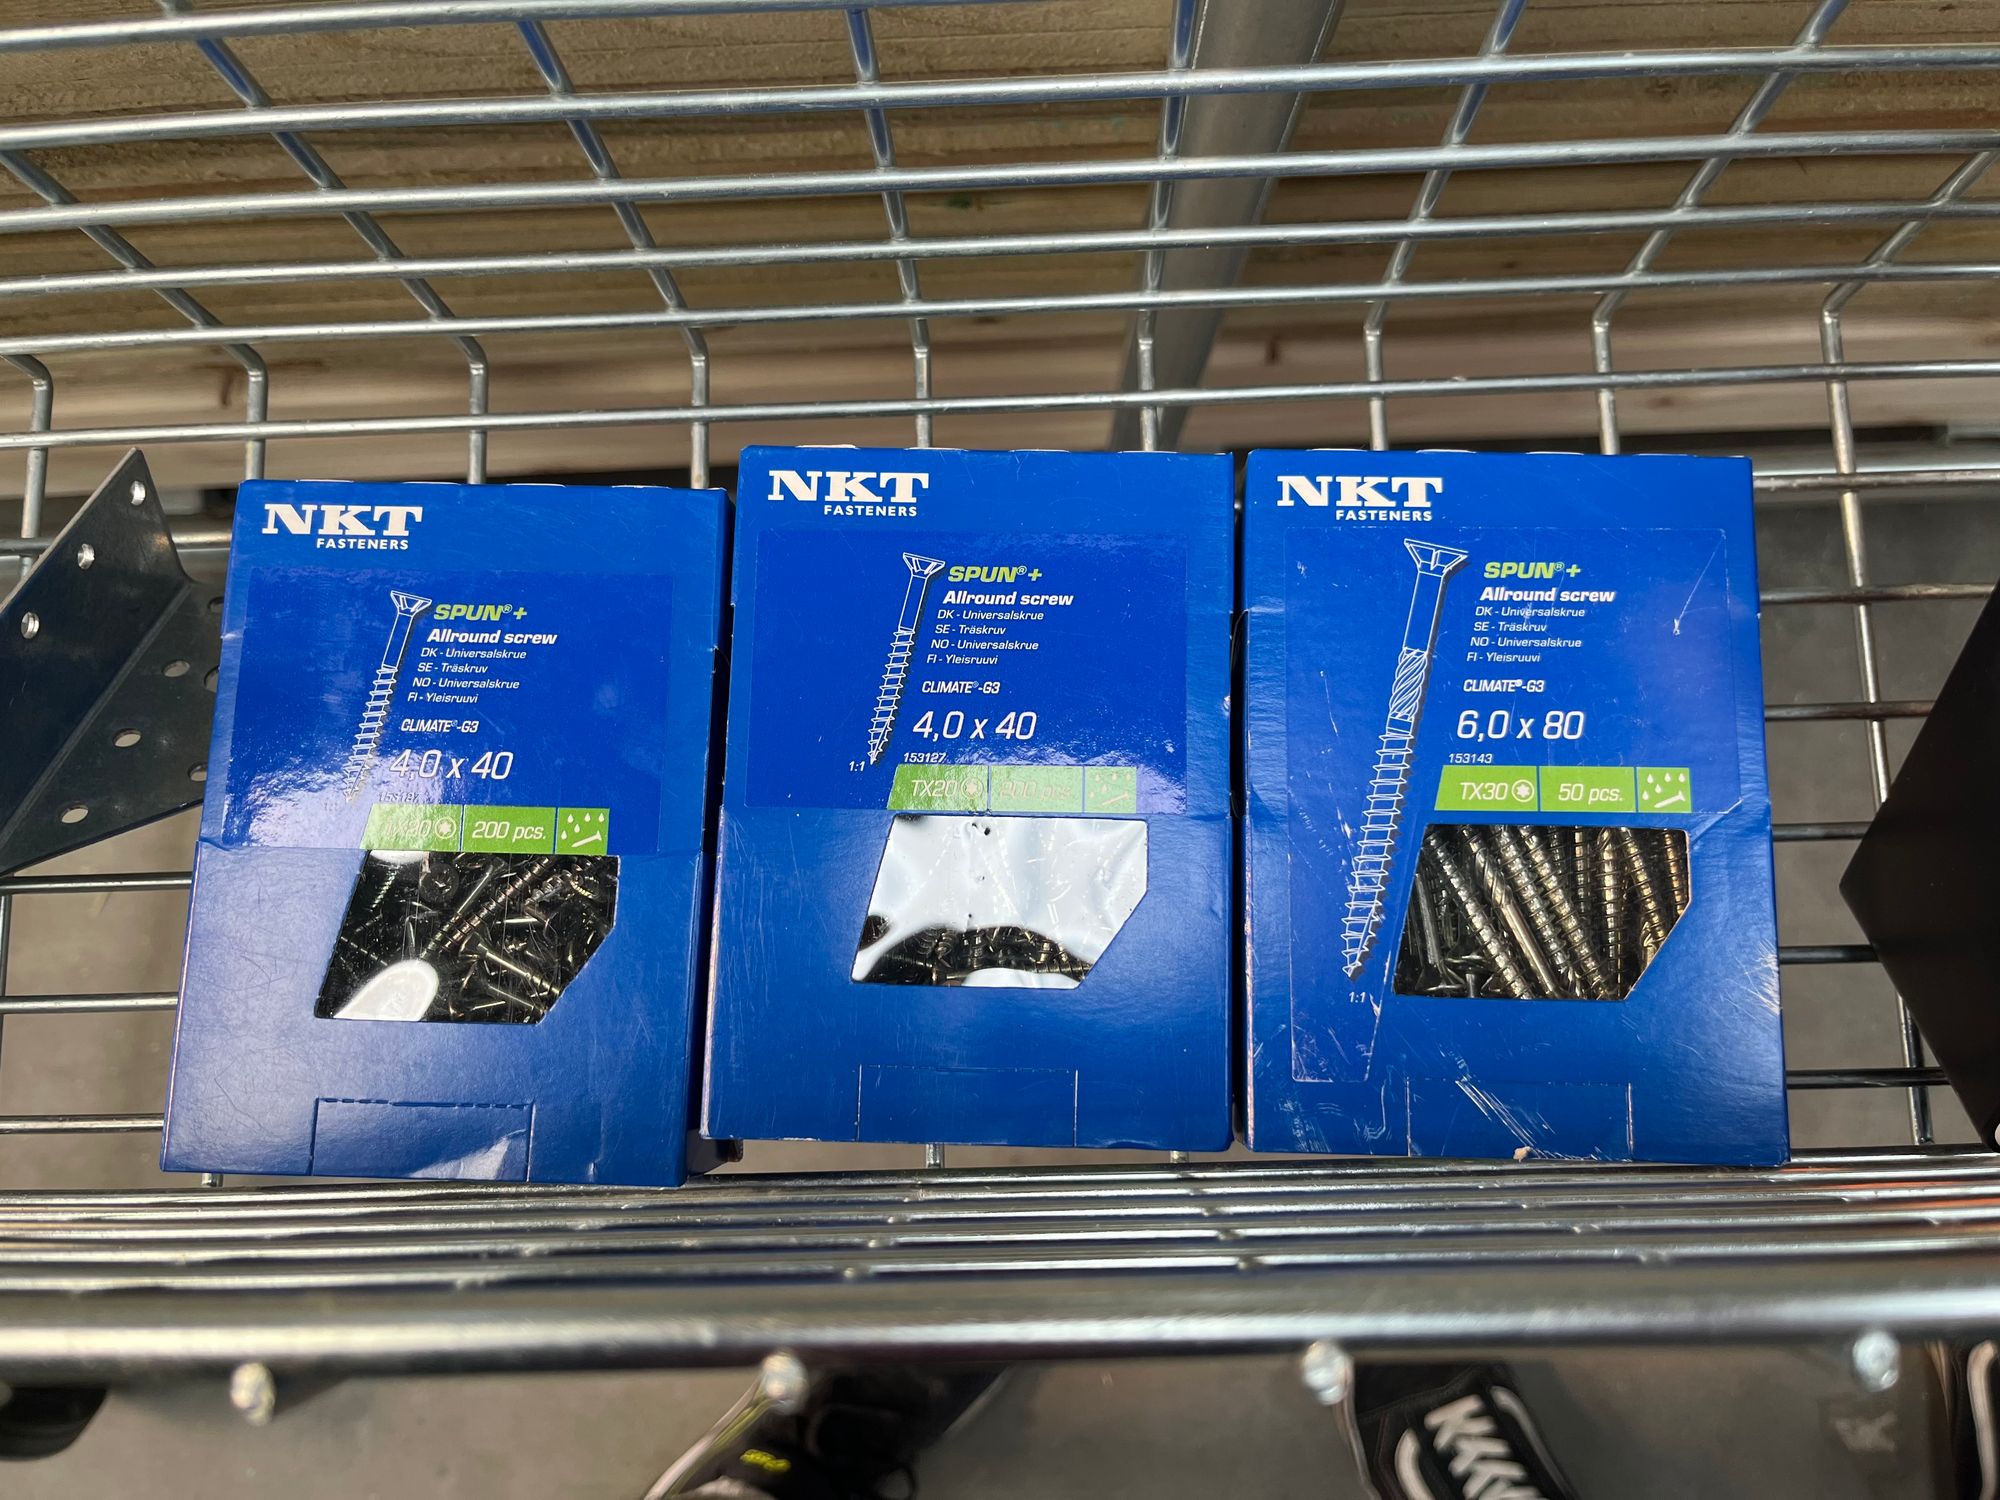
- A lot of screws to assemble everything
- Long wood assembly screws, outdoor rated: 2 per each beam intersections expect maybe a few below. About 40 in total (typically a box of 50)
- Smaller screws, also outdoor rated for the rest: $2 * 2\ per\ metal\ binding * 2 \frac{bindings}{barrel} * 6\ barrels = 48$ for the barrels, $(2 * 2 + 2)\ per\ board * 36\ boards=216$ for the boards, and some more for the rest (brackets, cleats, ...). Good to plan for 400.
- We may have bought some overkill quality but heh, looks great weeks after.
- A couple of straps for transportation
Stuff we bought. Credits: Bauhaus.dk (top left), tmlmt (rest)
Tools
Here's what we used:
- Screw gun / power drill. Better to have 2 of them than a single one, it goes faster. Use 18V drills. The smaller ones are two weak and may burn out (it happened to us)
- Metal cutter to cut the perforated band.
- A nice loud speaker, for the atmosphere 🤘
Safety clothes
There is no uniform regulation as to when, where and under what circumstances a life jacket must be carried or worn. In Denmark, the short and concise Bekendtgørelse om redningsveste om mindre fartøjer (Decree on Life Jackets in Small Vessels, see Retsinformation.dk) of October 1992, stipulates that all small vessels* must be equipped with life vests or life jackets for all people on board.
They must be certified and their rating must match people's weight.
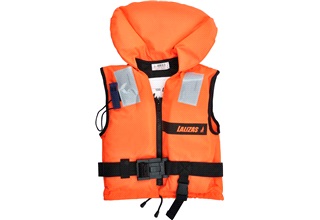
Life vests or jackets range from 200kr to 900kr depending on buoyancy, self-inflatable or foam-based, etc. ... which is still below the 1500kr fine per missing jacket !
*Small vessels are defined as:
Any device, such as commercial vessels, boats, dinghies, barges, jet skis, windsurfers etc. which are used by people on water, except from ships' life boats and bathing equipment that are used exclusively on the beach edge.
... which leaves little doubt, and include our floating raft taking people on a ride.
Life jackets can save lives, so get your gear !
Last but not least
It is important to have an idea of where to safely build your raft and launch it into the water, as well as an idea of where to park it when you're not using it.
Assembly
As there's no cutting but only assembling, the flow is pretty straight forward.
- Assemble the outer rectangle of beams first, making sure you keep 2.4m (the length of the smaller beams) as the width of the raft, so that all the deck boards can fit.
- Screw in the next two long beams, leaving just the space needed so that the barrel won't get through the deck once the raft is loaded
- Screw in the rest of the long beams, more or less at equal distance from each other
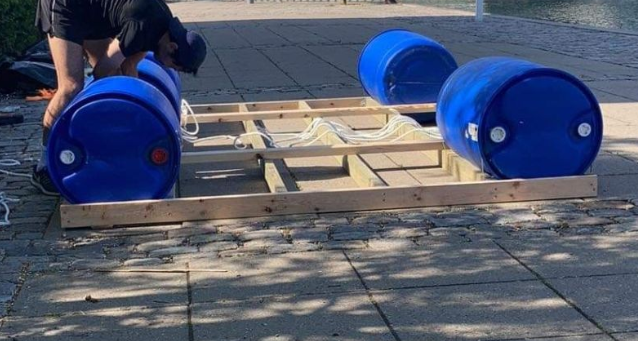
- Place the barrels, screw in the intermediate cross beams in-between, and tighten the barrels with strips of perforated band.
- Flip the raft, and screw in all the deck boards one by one. Don't forget a hole big enough at the stern to be able to mount and unmount the motor.
- Mount the cleats
- You're done ! Take it out ! (we needed 6 people to lift it)
I hope you enjoyed reading this story. If you have any remark or question, I'd love to hear!
Recap: bill of material
| Item | Qtt | Total cost (€) | Total weight (kg) |
|---|---|---|---|
| 200L plastic barrels | 6 | 120 | 48 |
| Electric motor | 1 | 400 | 12 |
| Marine Lead-acid batteries 12V/115Ah | 2 | 400 | 54 |
| 2x4 beams, 3.6m | 6 | 57 | 71 |
| 2x4 beams, 2.4m | 4 | 25 | 31 |
| 10x240cm planks | 36 | 64 | 84 |
| 10m rolls of perforated band | 2 | 30 | ~0 |
| Brackets (optional?) | Some | 20 | ~0 |
| 6.0x80 screws, outdoor | 50 | 15 | ~0 |
| 4.0x40 screws, outdoor | 400 | 27 | ~0 |
| Cleats | 4 | 70 | ~0 |
| Ropes | 2 | 20 | ~0 |
| --- | --- | --- | --- |
| Total | - | 1248 | ~300 |
The grand total of costs should also include the battery charger, life vests, truck rental if needed, pizzas and beers to celebrate, etc. 1500€ (without live vests) is not far from what we paid in total. When you think that an equivalent 2hr-ride on a Goboat costs 110€, 14 rides are needed to compensate for building costs. But that does not take into account all the associated fun 🤩